
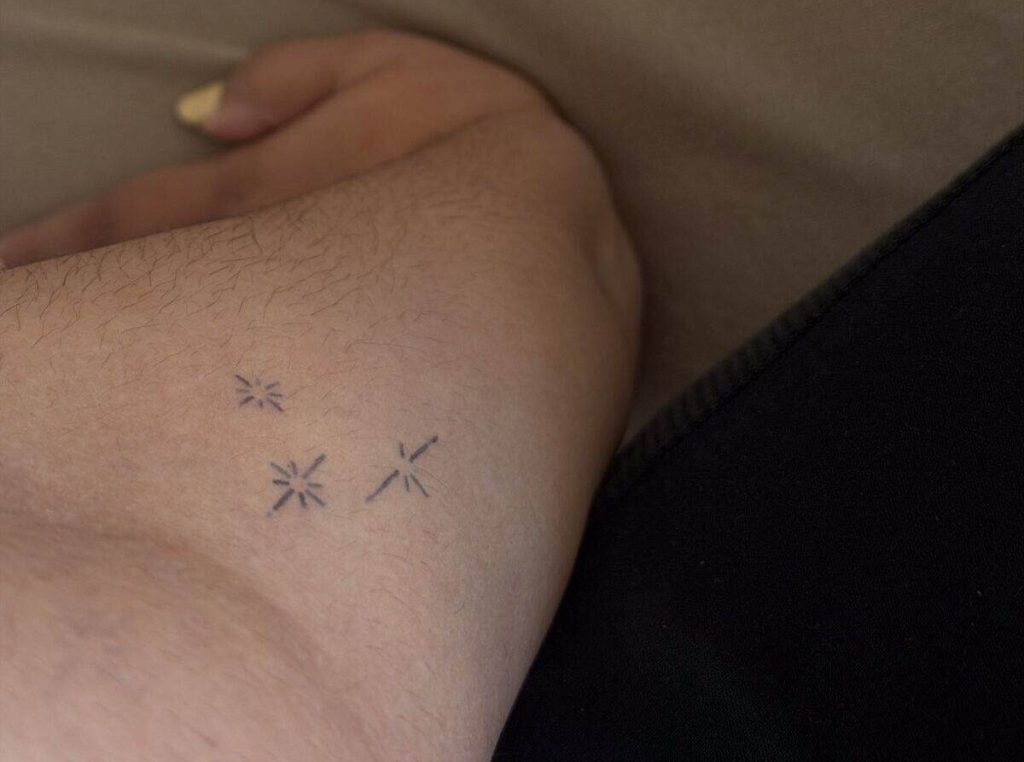
My application experience, what to expect during development and the tips that make the biggest difference.
WERBUNG / ADVERTISEMENT This post contains an affiliate link marked with an asterisk (*). If you purchase through it, I may earn a commission at no additional cost to you. All opinions are my own.
I love the idea of tattoos, but choosing a design and placement permanently is a completely different decision. That is what made Inkster interesting to me: instead of looking like a glossy sticker that sits visibly on top of the skin, the colour develops gradually after application.
For my test, I chose a set of tiny celestial symbols and placed them on the inside of my forearm. The designs were delicate enough to experiment with, but still visible enough to judge the placement and overall effect. This review covers what Inkster tattoos are, how the process works, what I noticed during application and what I would do differently next time.
QUICK ANSWER
Inkster tattoos are designed for people who want to test a motif, placement or tattoo aesthetic without making a permanent decision. The transfer appears faint at first and develops over the following hours; Inkster says full development can take up to 36 hours.
What Are Inkster Tattoos?
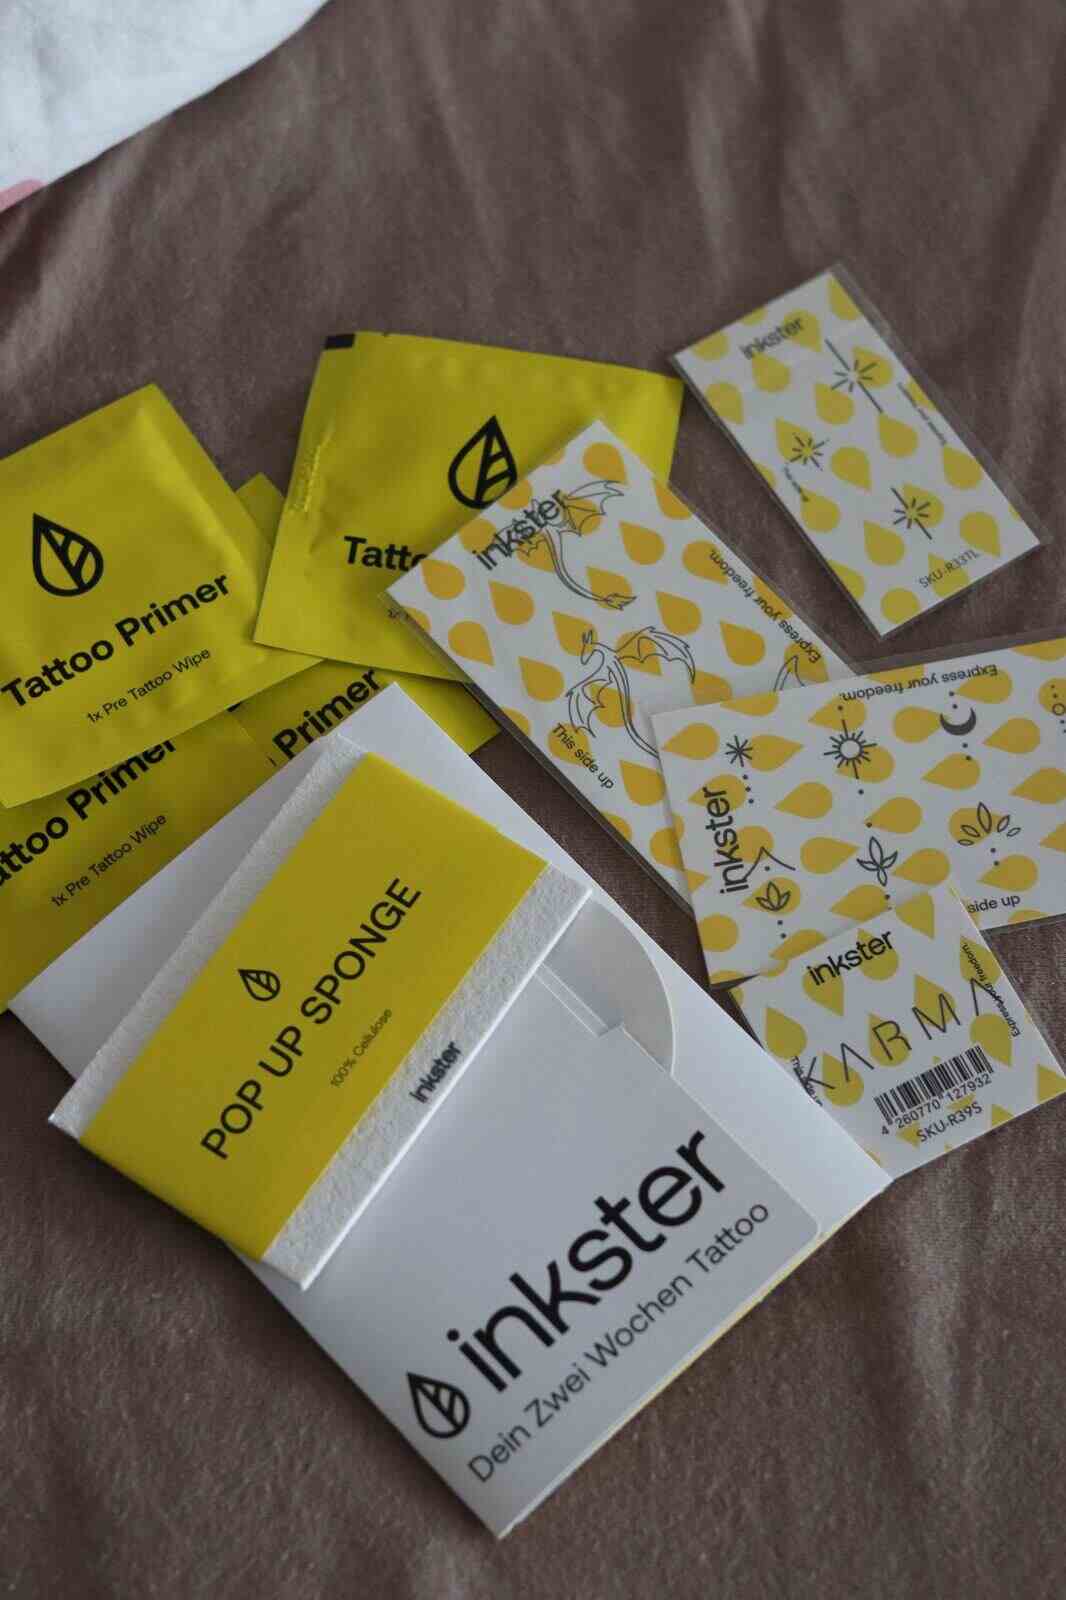
Inkster makes developing temporary tattoos inspired by Jagua. Unlike a classic transfer tattoo that looks like a printed film on top of the skin, the colour develops gradually in the uppermost skin layer.
Instead of choosing one premade design, I used Inkster’s option to build a custom set with the tattoos I wanted. My order included symbolic ornaments, small dragons, three stars and the word “Karma”, together with primer wipes and a pop up sponge. For this test, I applied three of the small celestial motifs to my forearm.
Application: Step by Step
The application was simple, but clean skin, careful placement and the first eight hours made the biggest difference.
1. Choosing the placement
Before removing any film, I held the motifs against my inner forearm and checked their size, direction and spacing.
2. Preparing the skin
The area was cleaned with the included primer wipe and left to dry completely. Lotion, oil and sunscreen underneath the tattoos can interfere with an even transfer, so I skipped them.
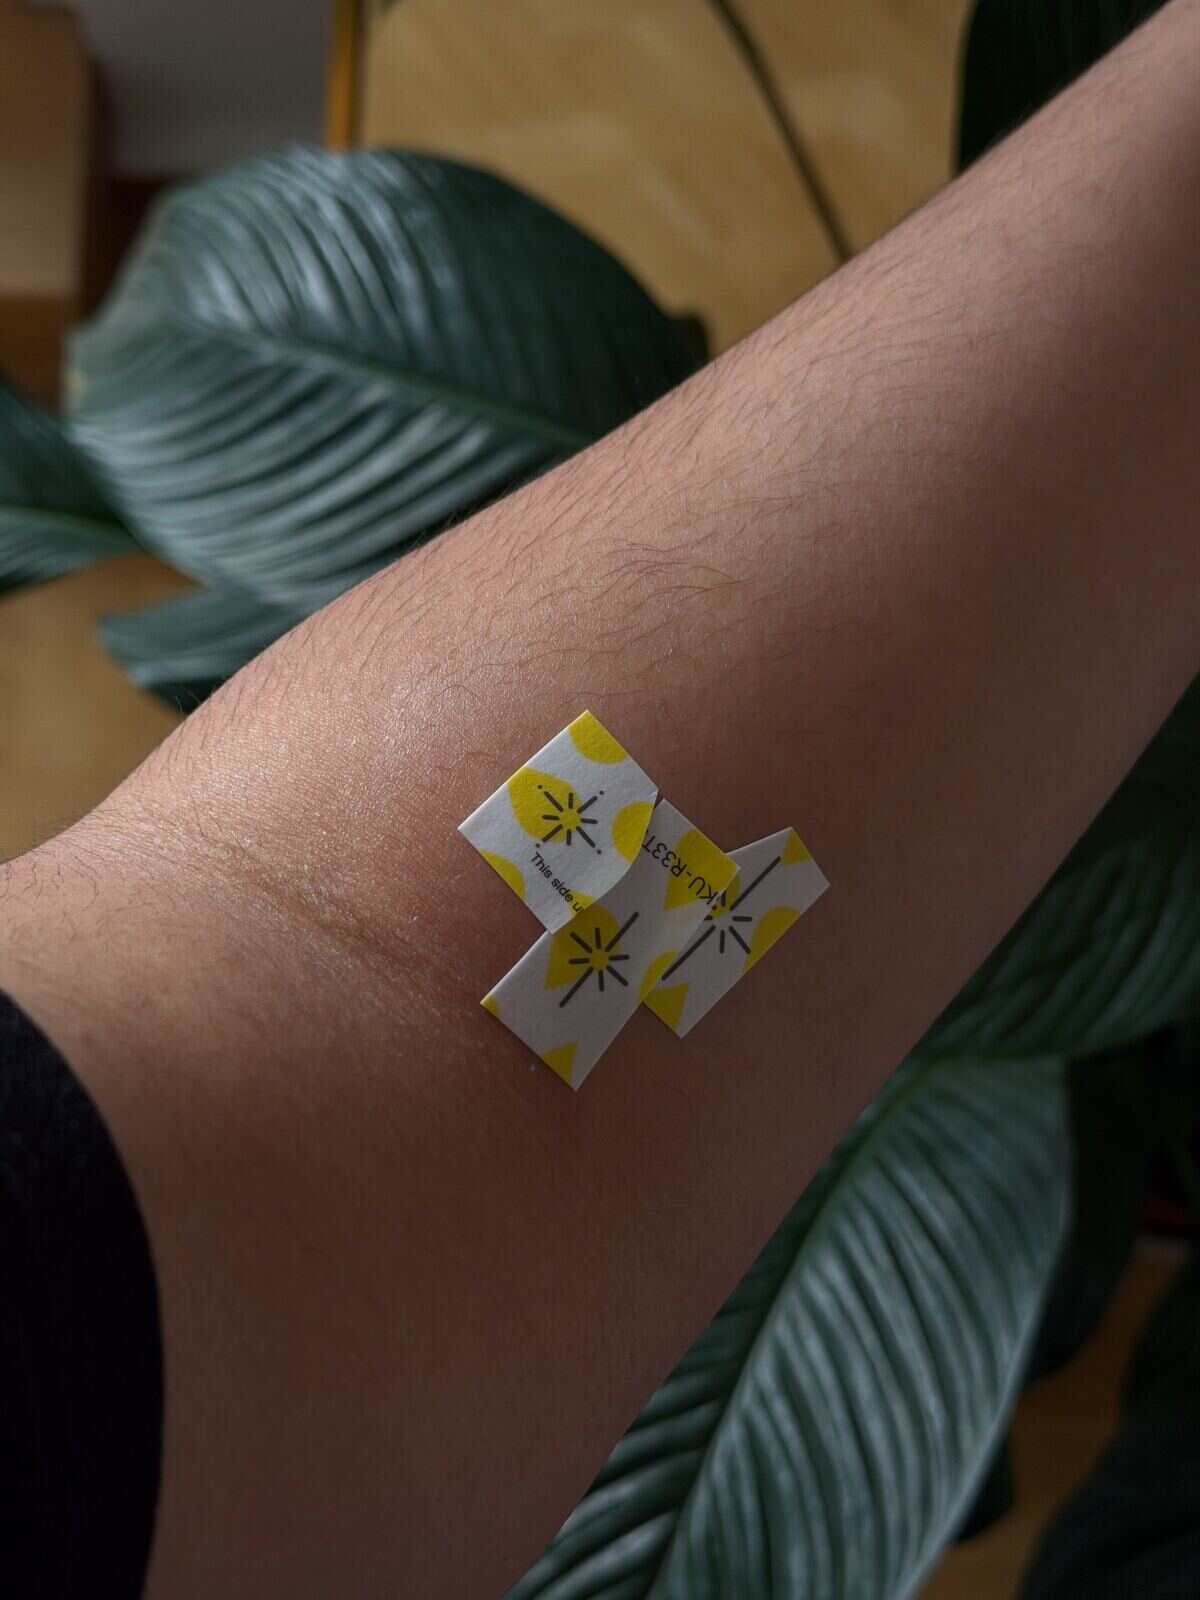
3. Removing the protective film
After peeling away the transparent layer, I made sure the printed side with the yellow symbols faced upward.
4. Placing the designs
Once a tattoo touched my skin, I avoided moving it. I took my time because the spacing became part of the final look.
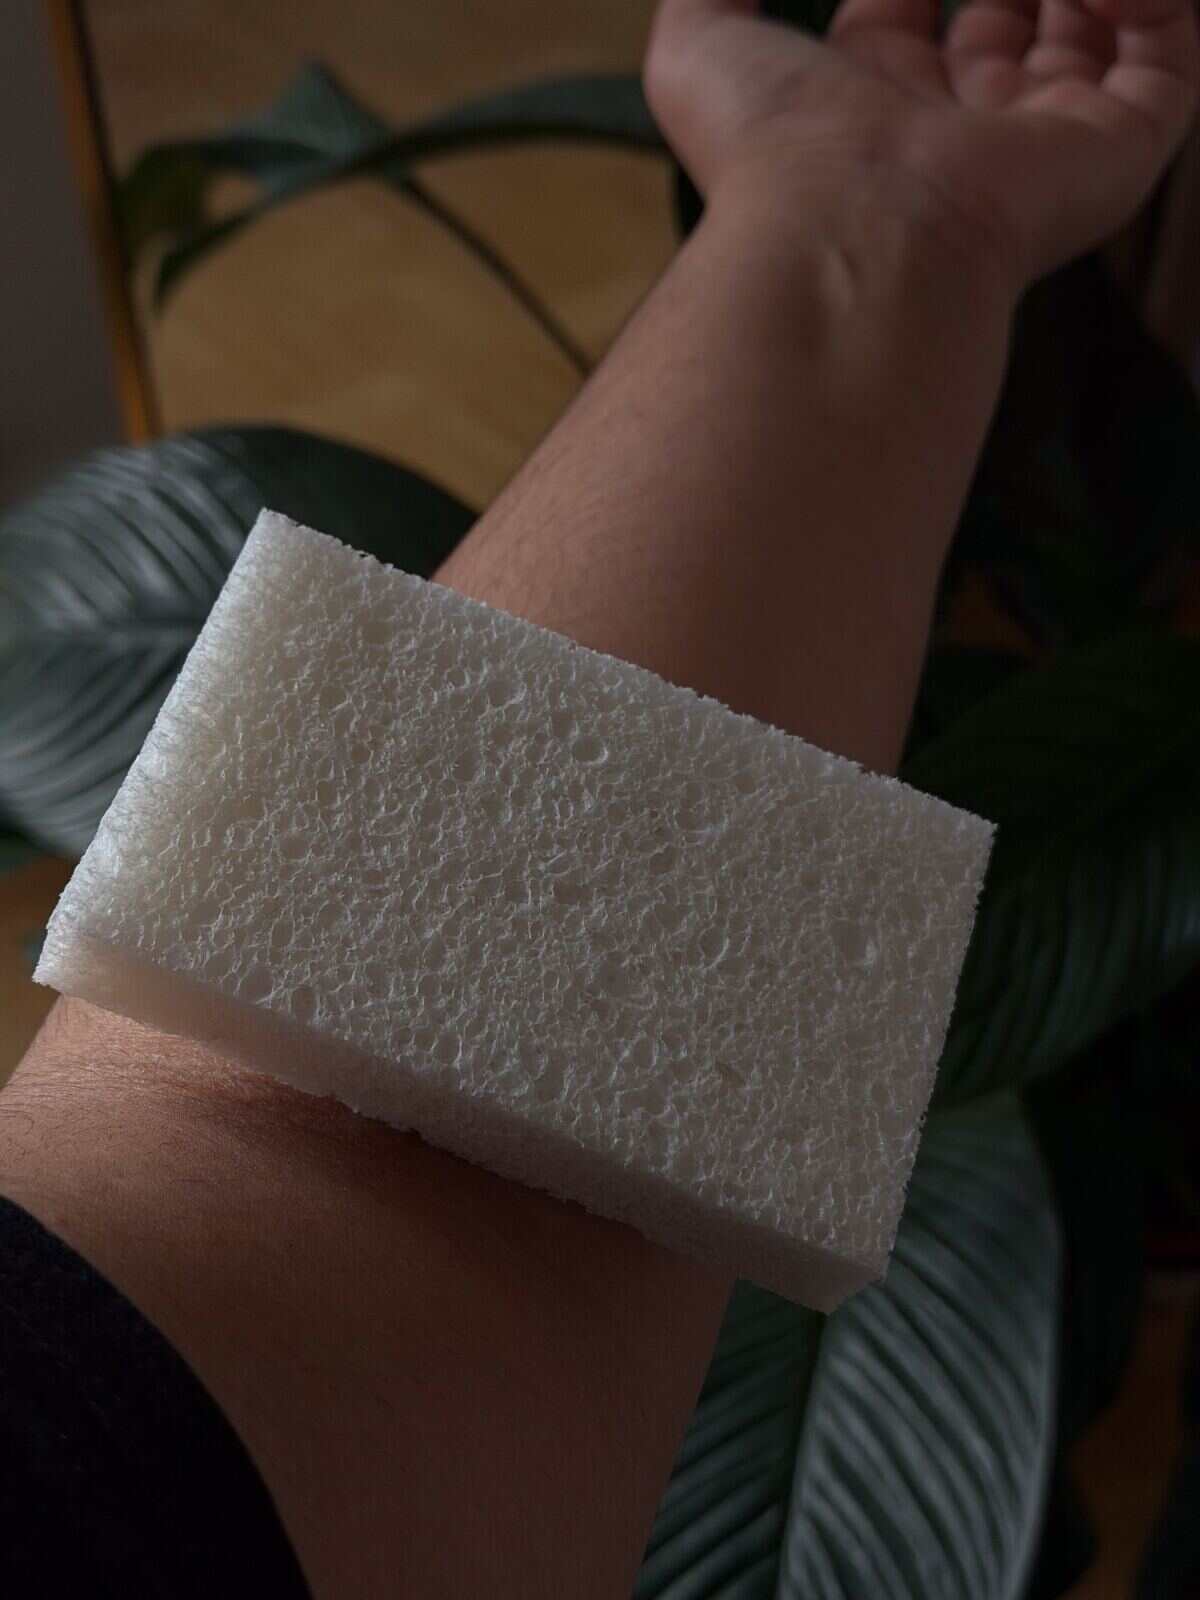
5. Saturating and pressing
Using the damp pop up sponge, I pressed evenly over the backing paper without sliding the designs around.
6. Removing the backing paper
The backing paper came away slowly and carefully. Underneath, the motifs looked extremely light, but that is expected at first.
7. Protecting the fresh tattoos
For the next eight hours, water and friction should be avoided. Applying the tattoos before bed was therefore not my smartest idea: while I was sleeping, my forearm touched my upper arm and some of the colour transferred there. A tiny accidental second tattoo, haha, oops.
The Development Stage
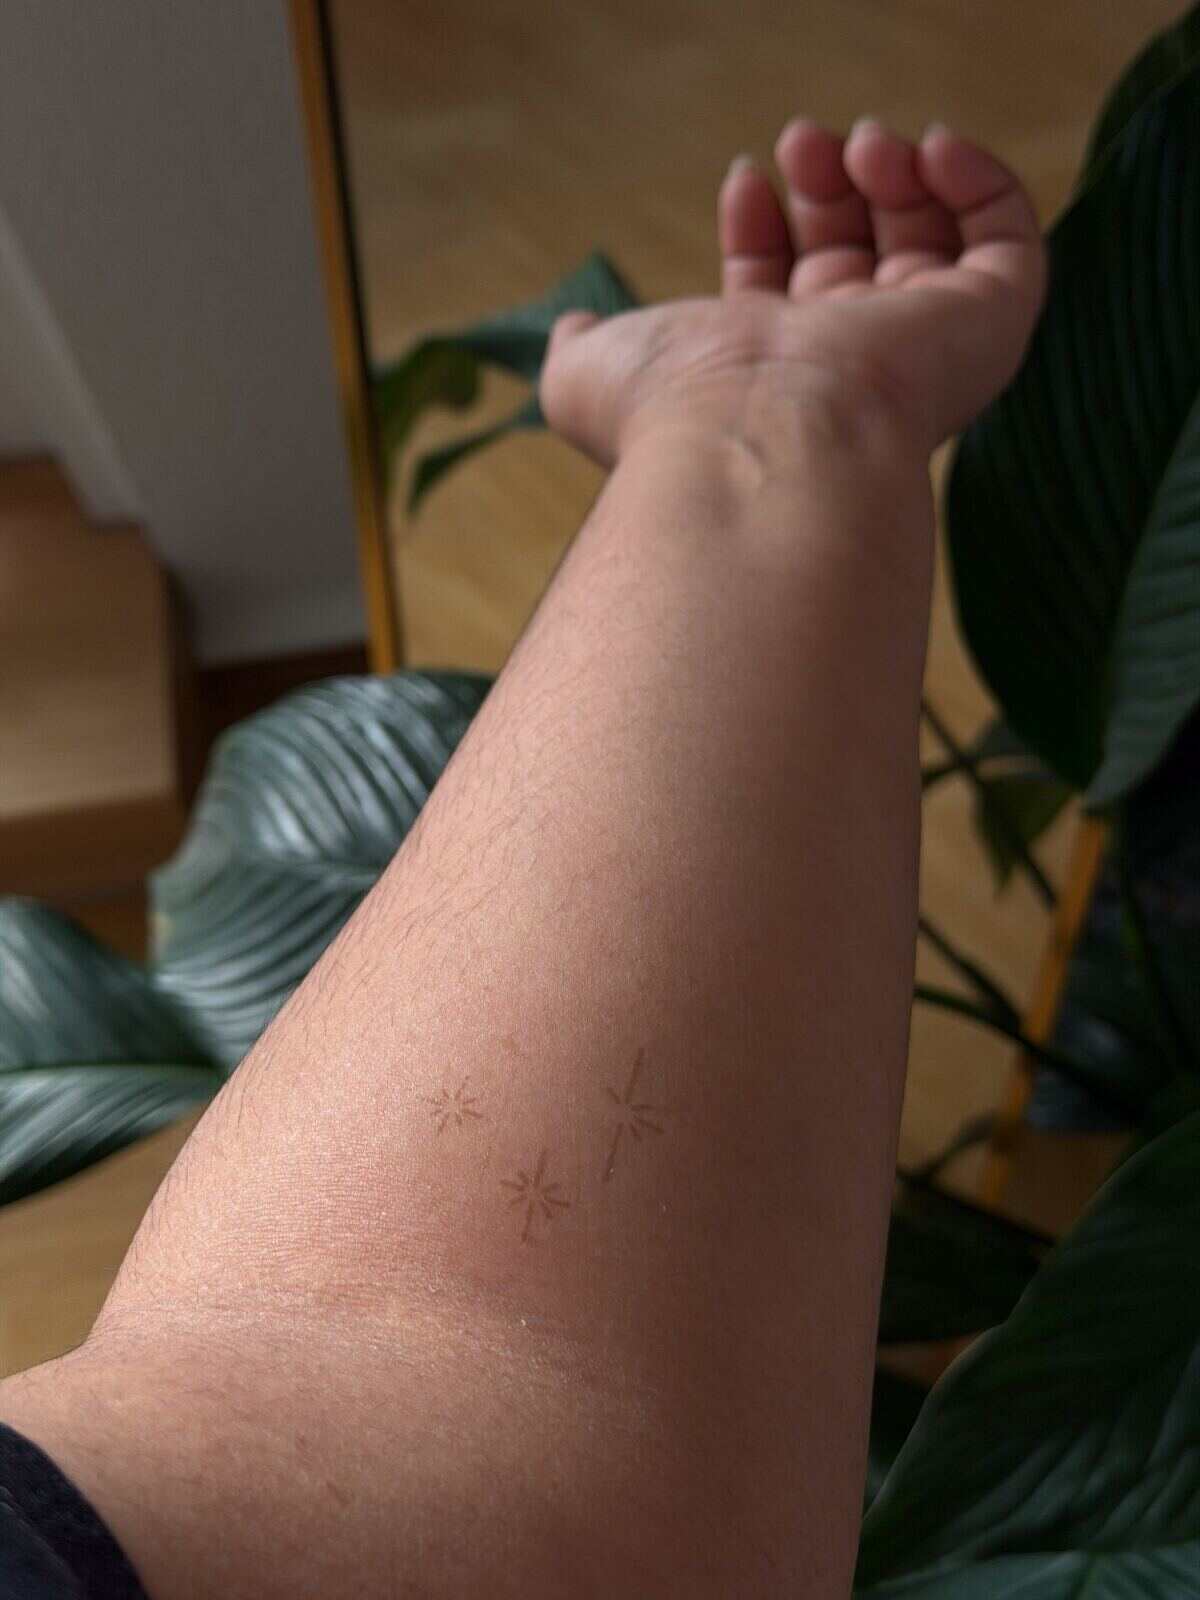
The light first result surprised me. I initially wondered whether the application had worked, but Inkster explains that the colour can take up to 36 hours to develop, depending on the skin type.
I would not apply one for the first time shortly before an event. The waiting period is part of the process, and the first impression is not the final result.
TIMING TIP
I would apply the tattoo one to two days before a party, holiday or photoshoot.
How Long Do Inkster Tattoos Last?
Inkster markets the tattoos as lasting for up to two weeks. I treat that as a maximum rather than a guarantee: placement, washing, friction, exfoliation and skin type can all change how quickly a design fades.
Likely to fade faster
- Hands, fingers and wrists
- Areas under tight clothing
- Places washed frequently
How to support longevity
- Apply to clean, dry skin
- Protect it for eight hours
- Wash gently after development
Honest First Impression
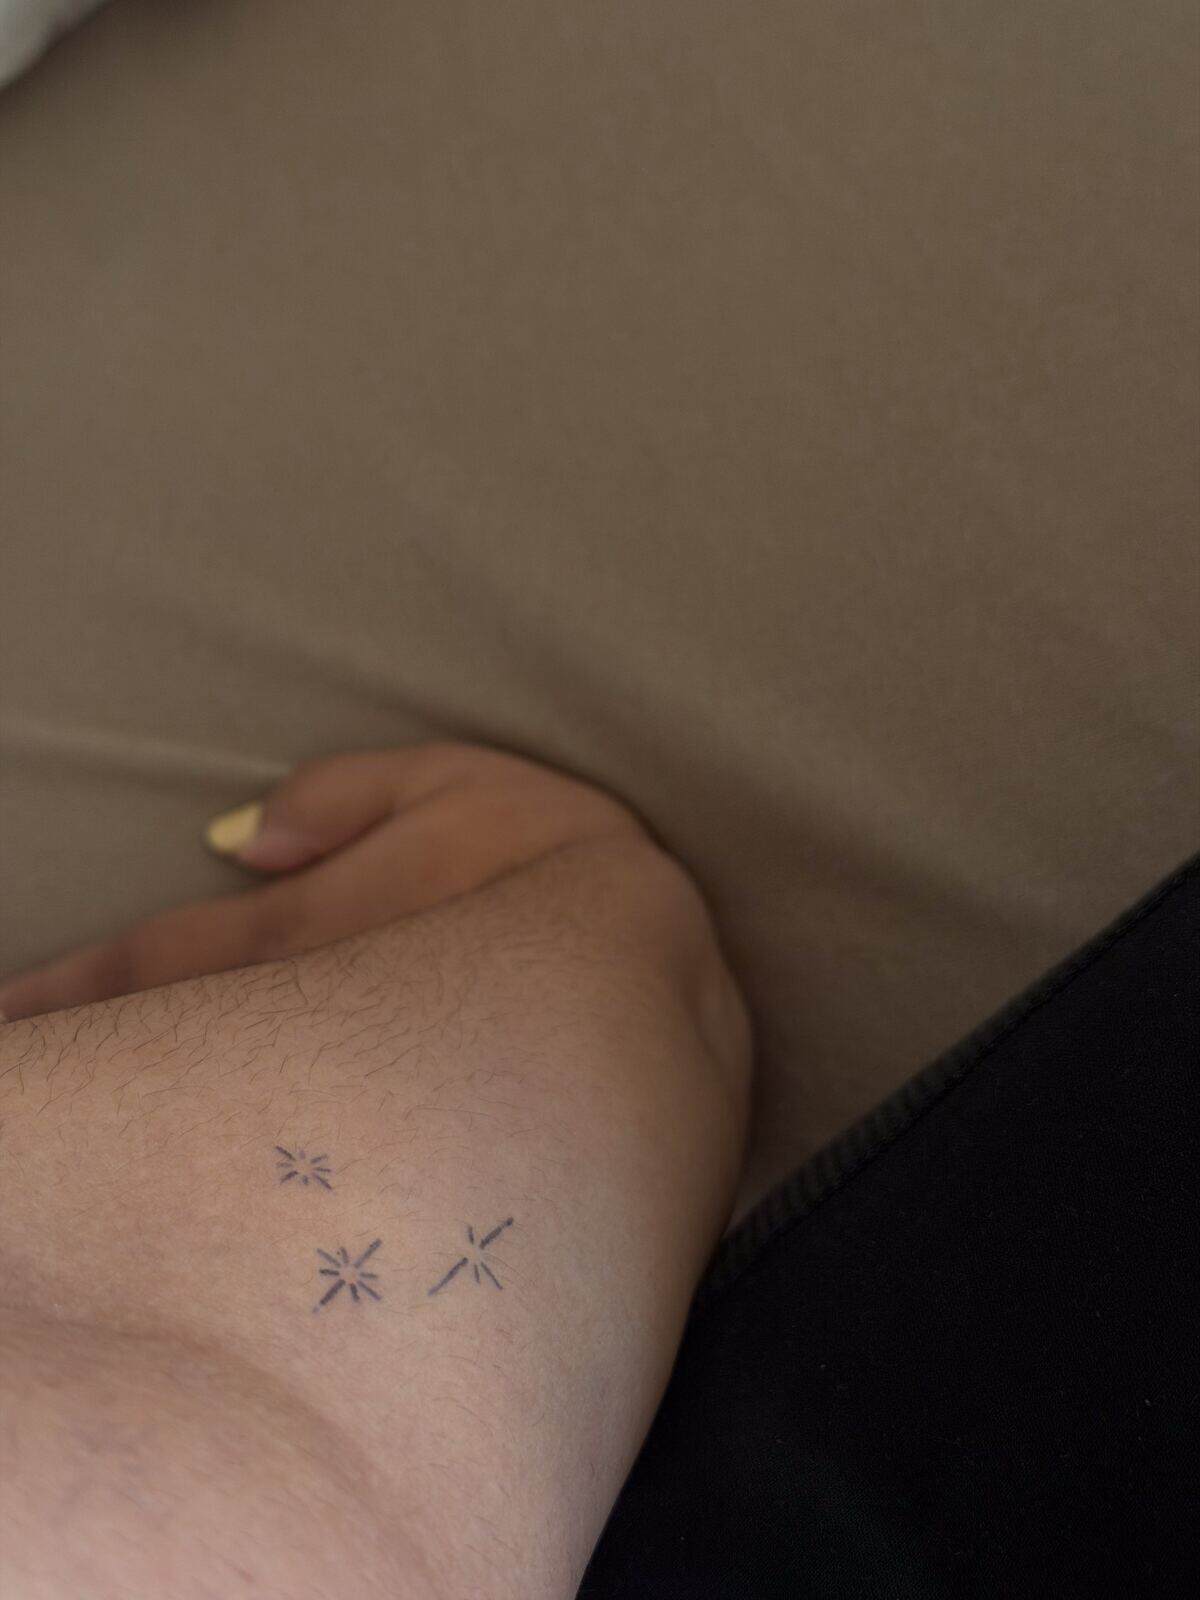
I liked how subtle the celestial motifs felt in everyday life. Testing several symbols together helped me decide whether I actually enjoyed a small tattoo cluster on my arm, rather than just liking the idea in theory.
The application was easy, but it was not an instant result product. Next time, I would plan the spacing carefully and apply the tattoos early enough that the first eight hours are easy to manage.
Who Inkster Tattoos Are Best For
- Anyone who wants to test a permanent tattoo motif or placement first.
- People who enjoy changing their body art for outfits, holidays or events.
- Anyone who likes minimalist tattoos but is unsure how they will feel in everyday life.
A temporary design cannot recreate the lifelong experience of real ink, but it can answer practical questions: Do I notice it constantly? Does it work with my clothes? Do I still like the motif after several days?
A note on skin sensitivity: I would always read the current safety information, avoid broken or irritated skin and stop using the product if a reaction occurs.
Three Practical Questions
Can I combine several small Inkster tattoos?
Yes. That is what I did with my celestial motifs. I would arrange every design first and check the spacing as one composition before applying anything.
Can I sleep while the tattoo is developing?
I would apply it early enough to complete as much of the eight hour protection period as possible before bed. If that is not possible, I would wear loose clothing and prevent rubbing.
What if I no longer like the placement?
The design cannot be repositioned after application. I would let it fade naturally, avoid aggressive scrubbing and follow Inkster’s current removal guidance.
Inkster vs. Henna: A Personal Comparison
Coming from an Indian background, henna, or mehndi, is already familiar to me as part of celebrations, traditions and beauty rituals. Traditional henna usually develops from a warm reddish brown into a deeper brown, depending on the paste, skin and development time.
Inkster creates a noticeably different effect. The motifs develop into a cool black to blue black tone, which makes even small designs look closer to tattoo ink than classic henna. I still love the detail and tradition behind mehndi, but it is genuinely cool to have a temporary option that gives me a darker, more similar to tattoo ink result.
Final Verdict
If you want to explore tattoo placement or enjoy temporary body art that develops gradually rather than looking like a glossy sticker, Inkster is an interesting option. The biggest advantage is the freedom to experiment. You can learn whether a motif feels like you without turning the decision into a permanent one.
The main thing to understand is that this is not an instant result product. Clean application, careful placement, an eight hour protection period and patience during the development window all matter. For me, the tiny celestial designs were a relaxed way to see how a subtle tattoo cluster would look on my inner arm.
Product availability, prices and application instructions may change. Always check the current packaging and product page before use.
What Would You Choose?
Would you try an Inkster tattoo, or would you rather choose henna or permanent ink? Tell me which design and placement you would pick in the comments. ♡

 Art of Jassi
Leave a comment