
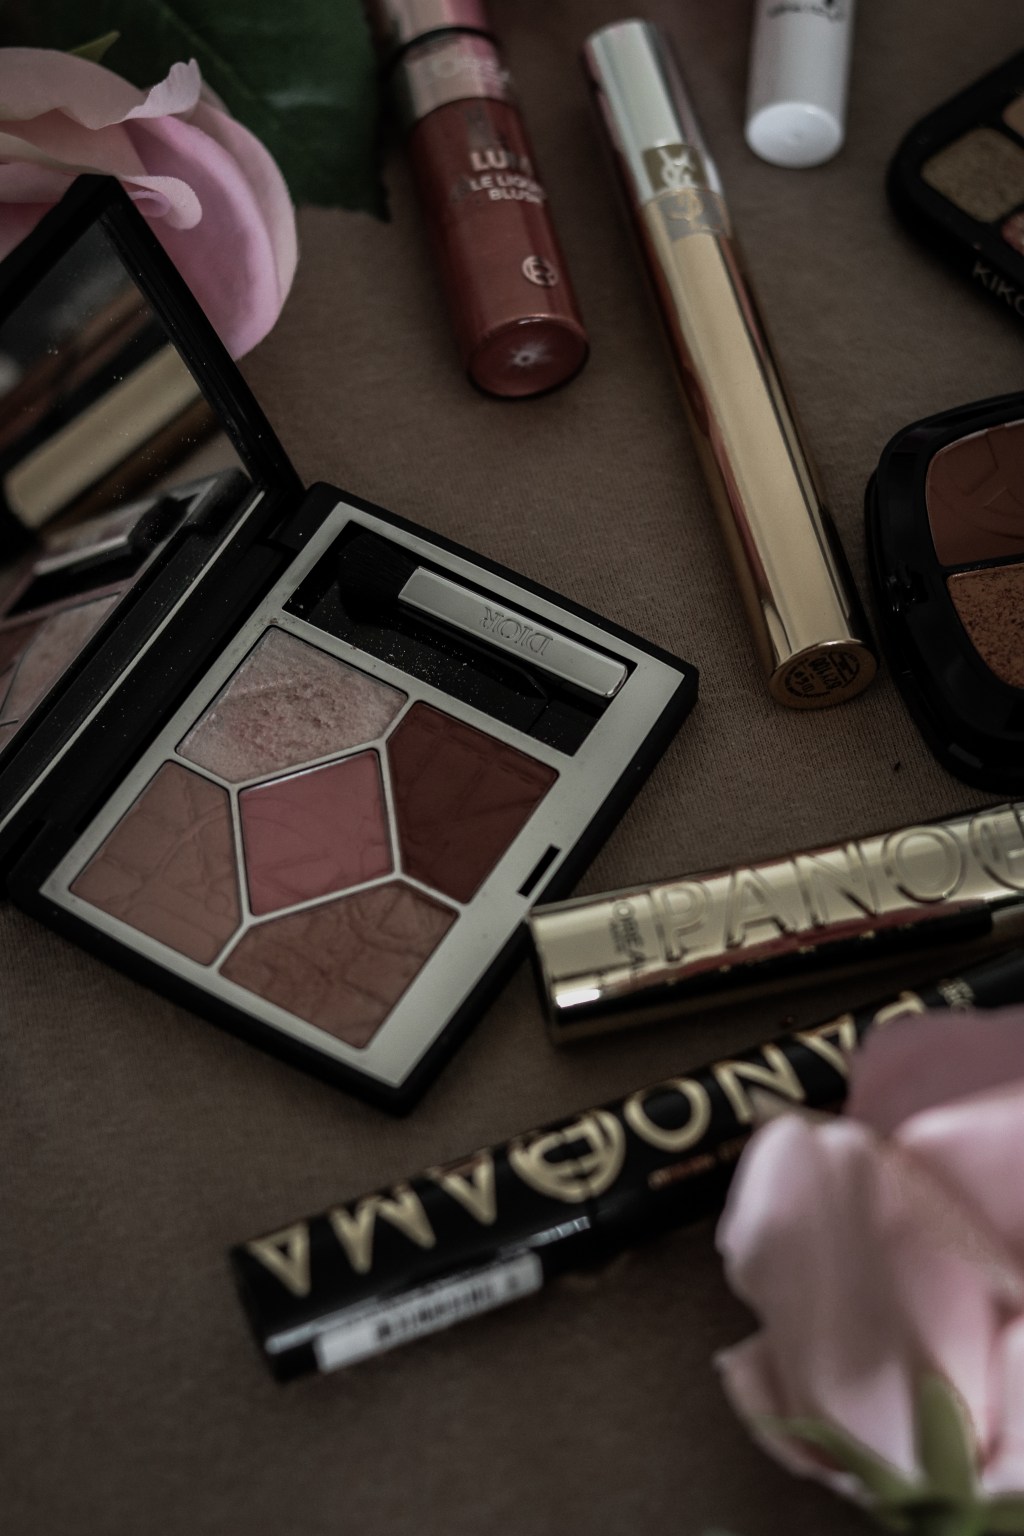
7 techniques for a smooth, polished and intentional finish, without buying a luxury foundation.
There is a very persistent beauty myth that expensive-looking makeup requires an expensive makeup bag. It does not. A luxury foundation can still separate around the nose, a designer lipstick can still look uneven and the most beautiful eyeshadow palette can still create a disconnected look if the application is rushed.
What reads as polished is usually not the price tag. It is the relationship between texture, placement, colour and restraint. Skin looks hydrated rather than overloaded. Complexion products appear to merge with the face instead of sitting on top of it. The lashes, lip line and shimmer look deliberate. Most importantly, every product seems to belong to the same look.
This guide breaks down the seven techniques that make makeup look more refined, seamless and expensive. Whether your routine is built from drugstore staples, luxury favourites or a mix of both.
1. Start With Skin Prep, Not Foundation
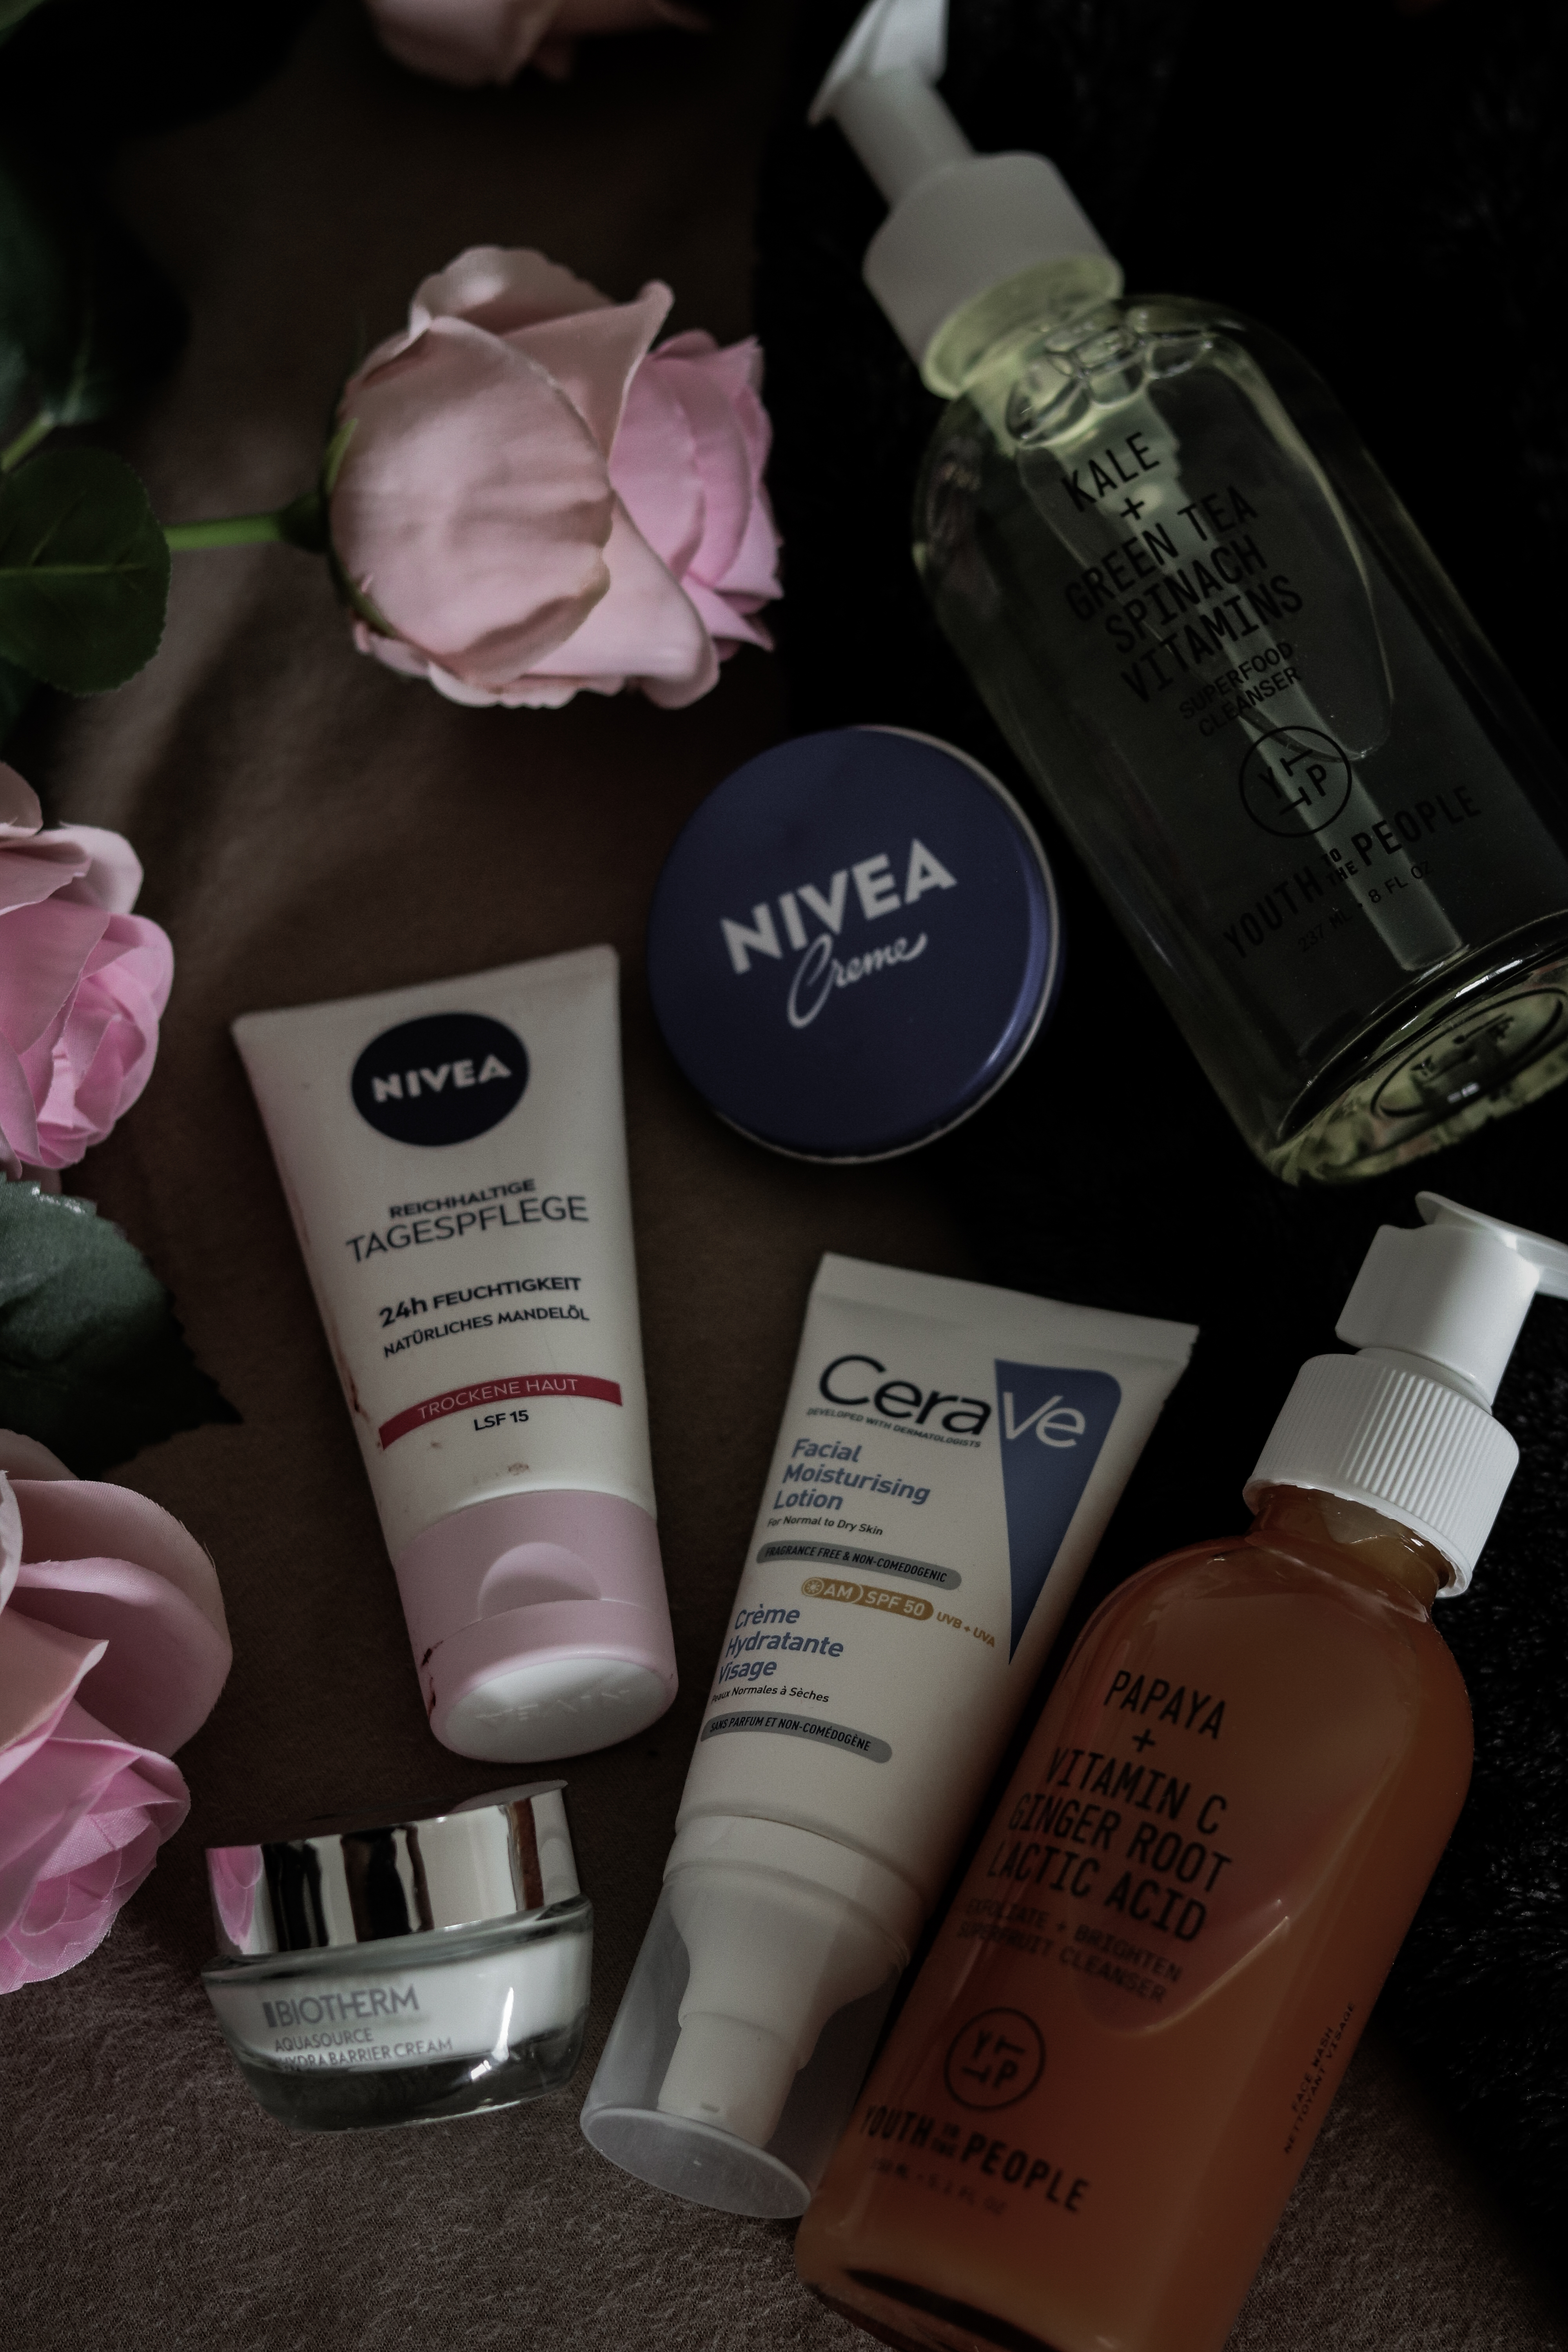
Foundation cannot correct every texture problem underneath it. If the skin is dehydrated, flaky or coated in too many incompatible layers, complexion products are more likely to catch, pill or look heavy. The goal of skin prep is not to make the face slippery. It is to create a comfortable, even surface that suits your skin type and the finish you want.
A simple pre-makeup routine
- Cleanse gently or rinse, depending on your skin and morning routine. Avoid aggressively scrubbing immediately before makeup.
- Apply a lightweight moisturiser where your skin needs it. Dry areas may need more; an oily T-zone may need less.
- During the day, finish skincare with a broad-spectrum SPF 30 or higher. The American Academy of Dermatology recommends applying sunscreen after other skincare and beneath makeup.
- Allow each layer to settle. If products roll into little flakes, simplify the routine and test whether one formula is pilling with another.
Match the preparation to your skin
Dry skin often benefits from a hydrating lotion or cream and a flexible, luminous base. Oily skin may look smoother with lightweight hydration followed by targeted oil control only where shine breaks through. Combination skin rarely needs one treatment everywhere: moisturise dry zones and use gripping or mattifying primer sparingly in the centre of the face.
Primer is optional. Use it to solve a specific problem (longevity, visible pores, grip or radiance) rather than applying it automatically across the entire face. Too many base layers can create more texture, not less.
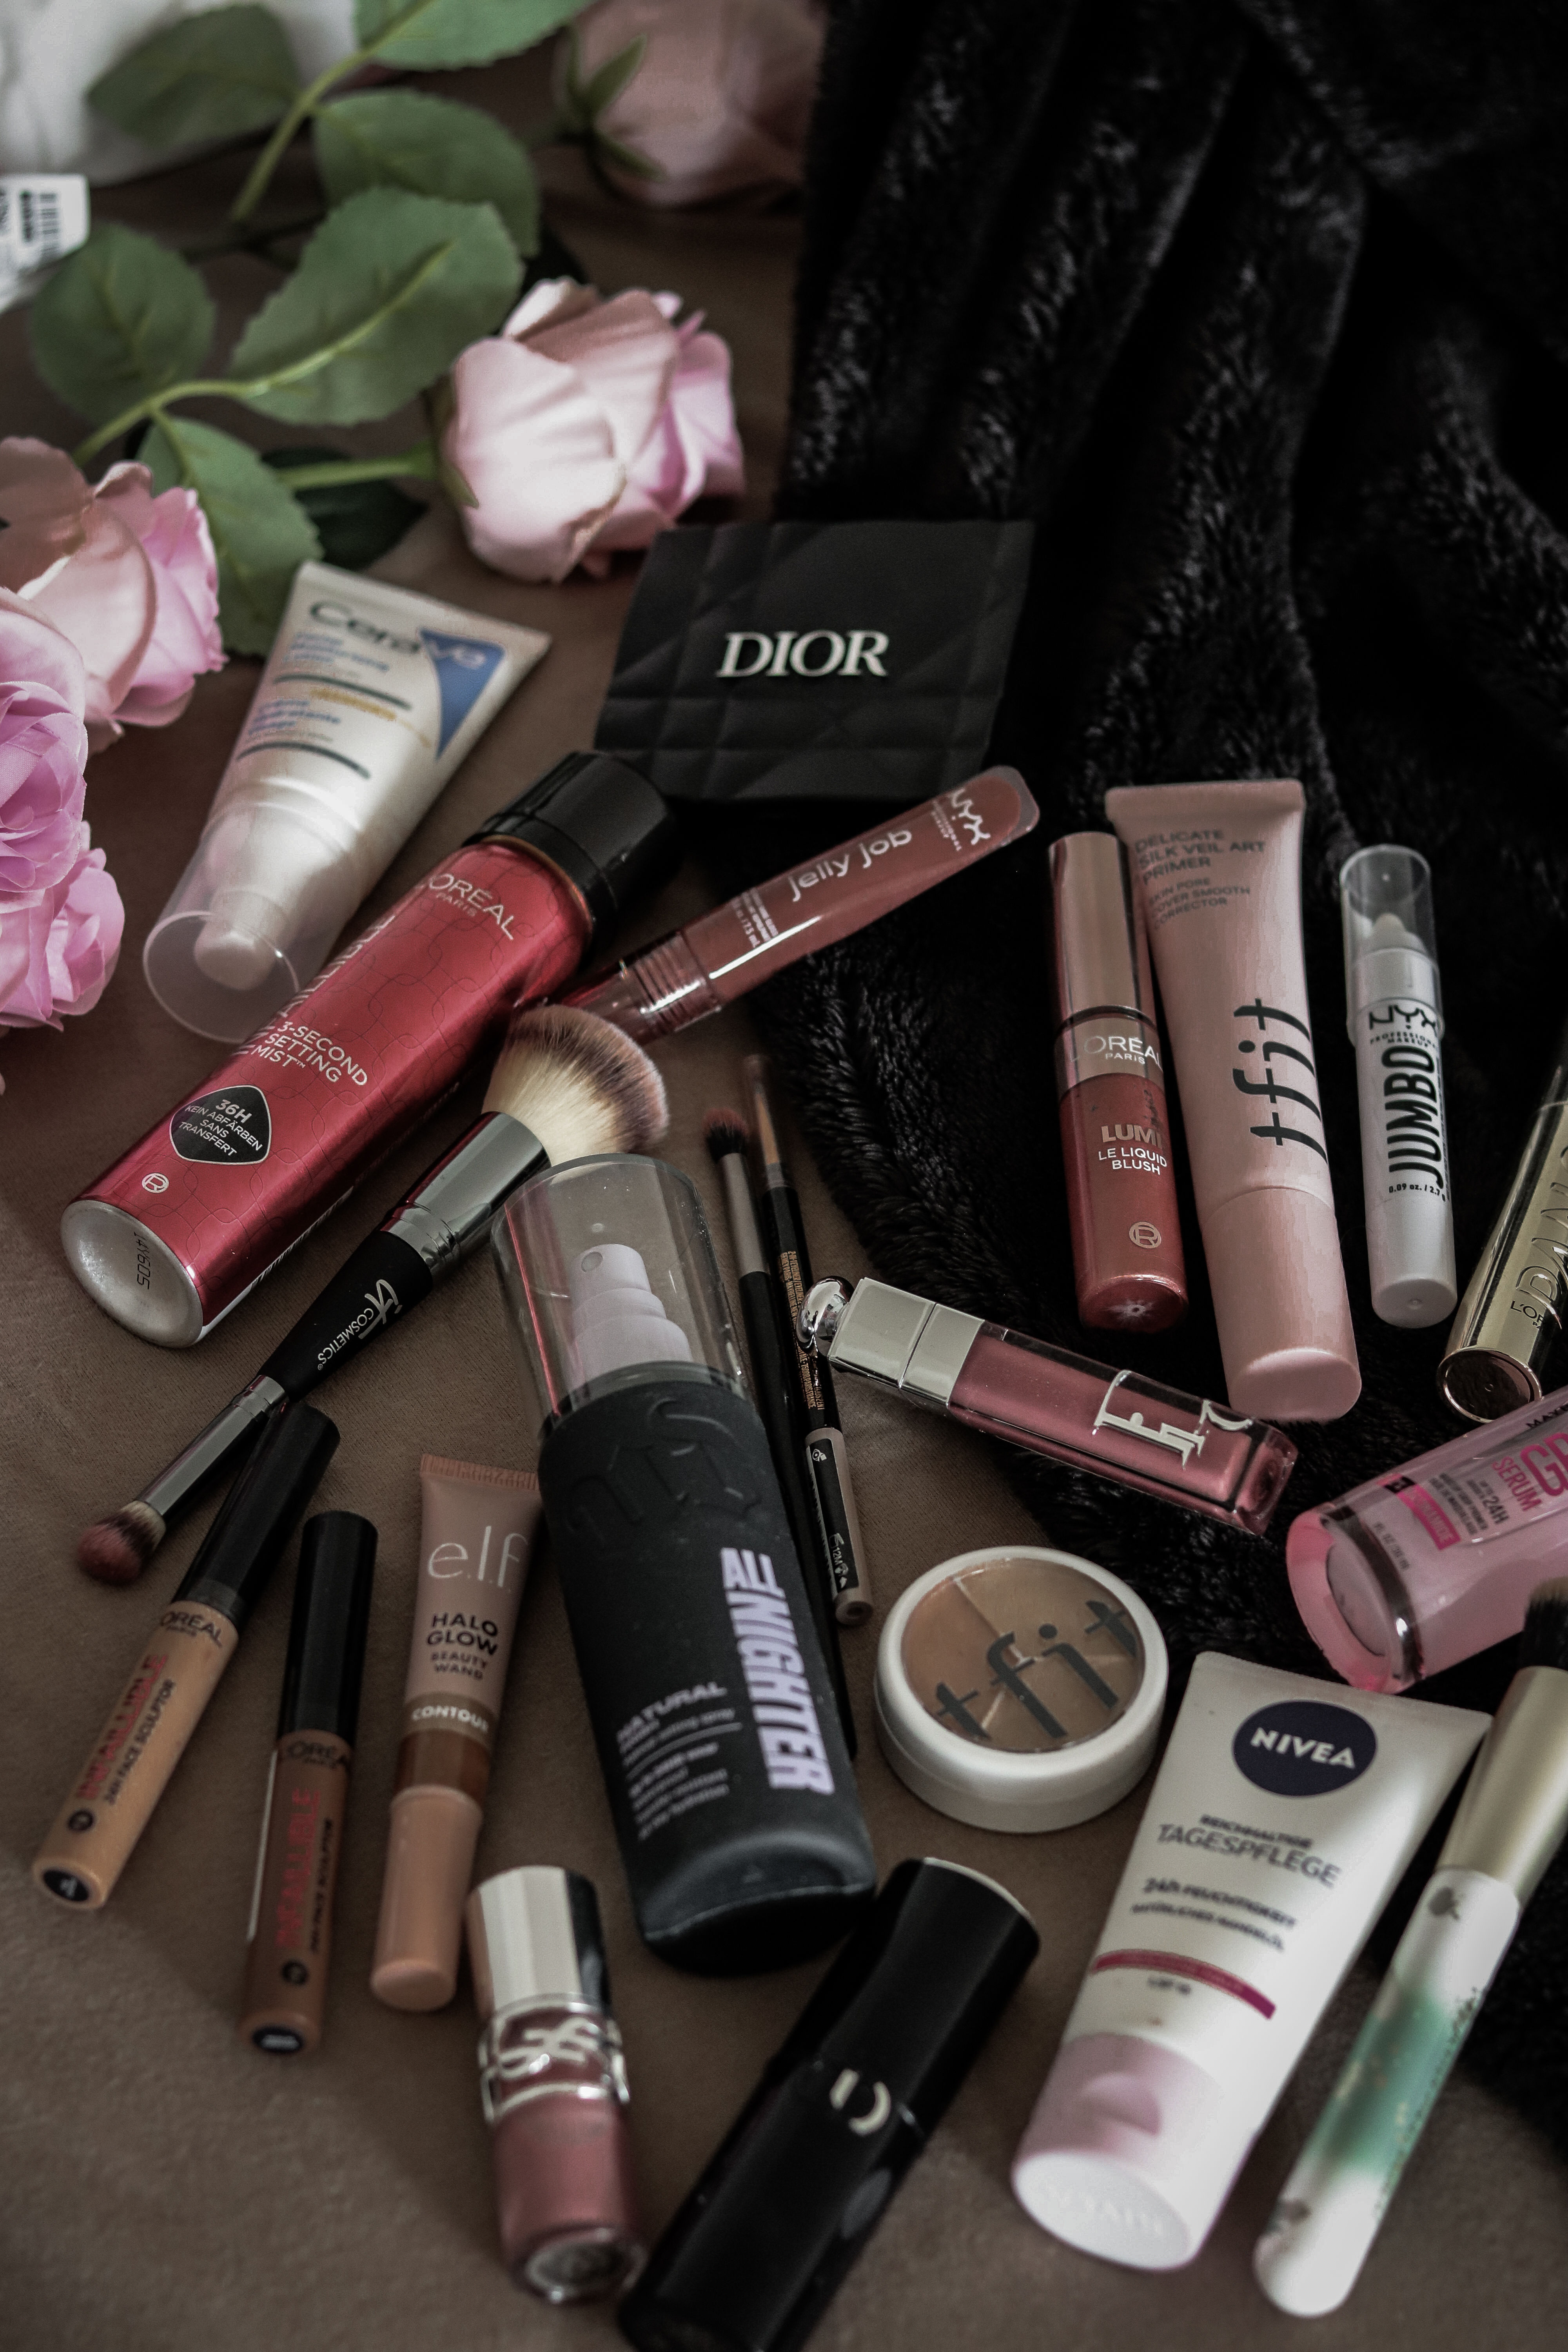
Some Products pictured:
- CeraVe Facial Moisturising Lotion AM SPF 50 *
A moisturising daytime SPF option shown in the image- NIVEA Creme or NIVEA Rich Day Care*
Richer moisture options; choose according to skin type and formula compatibility.- Biotherm Aquasource Cream*
A premium hydration option pictured in the flat lay.
2. Apply Base Makeup in Thin, Strategic Layers
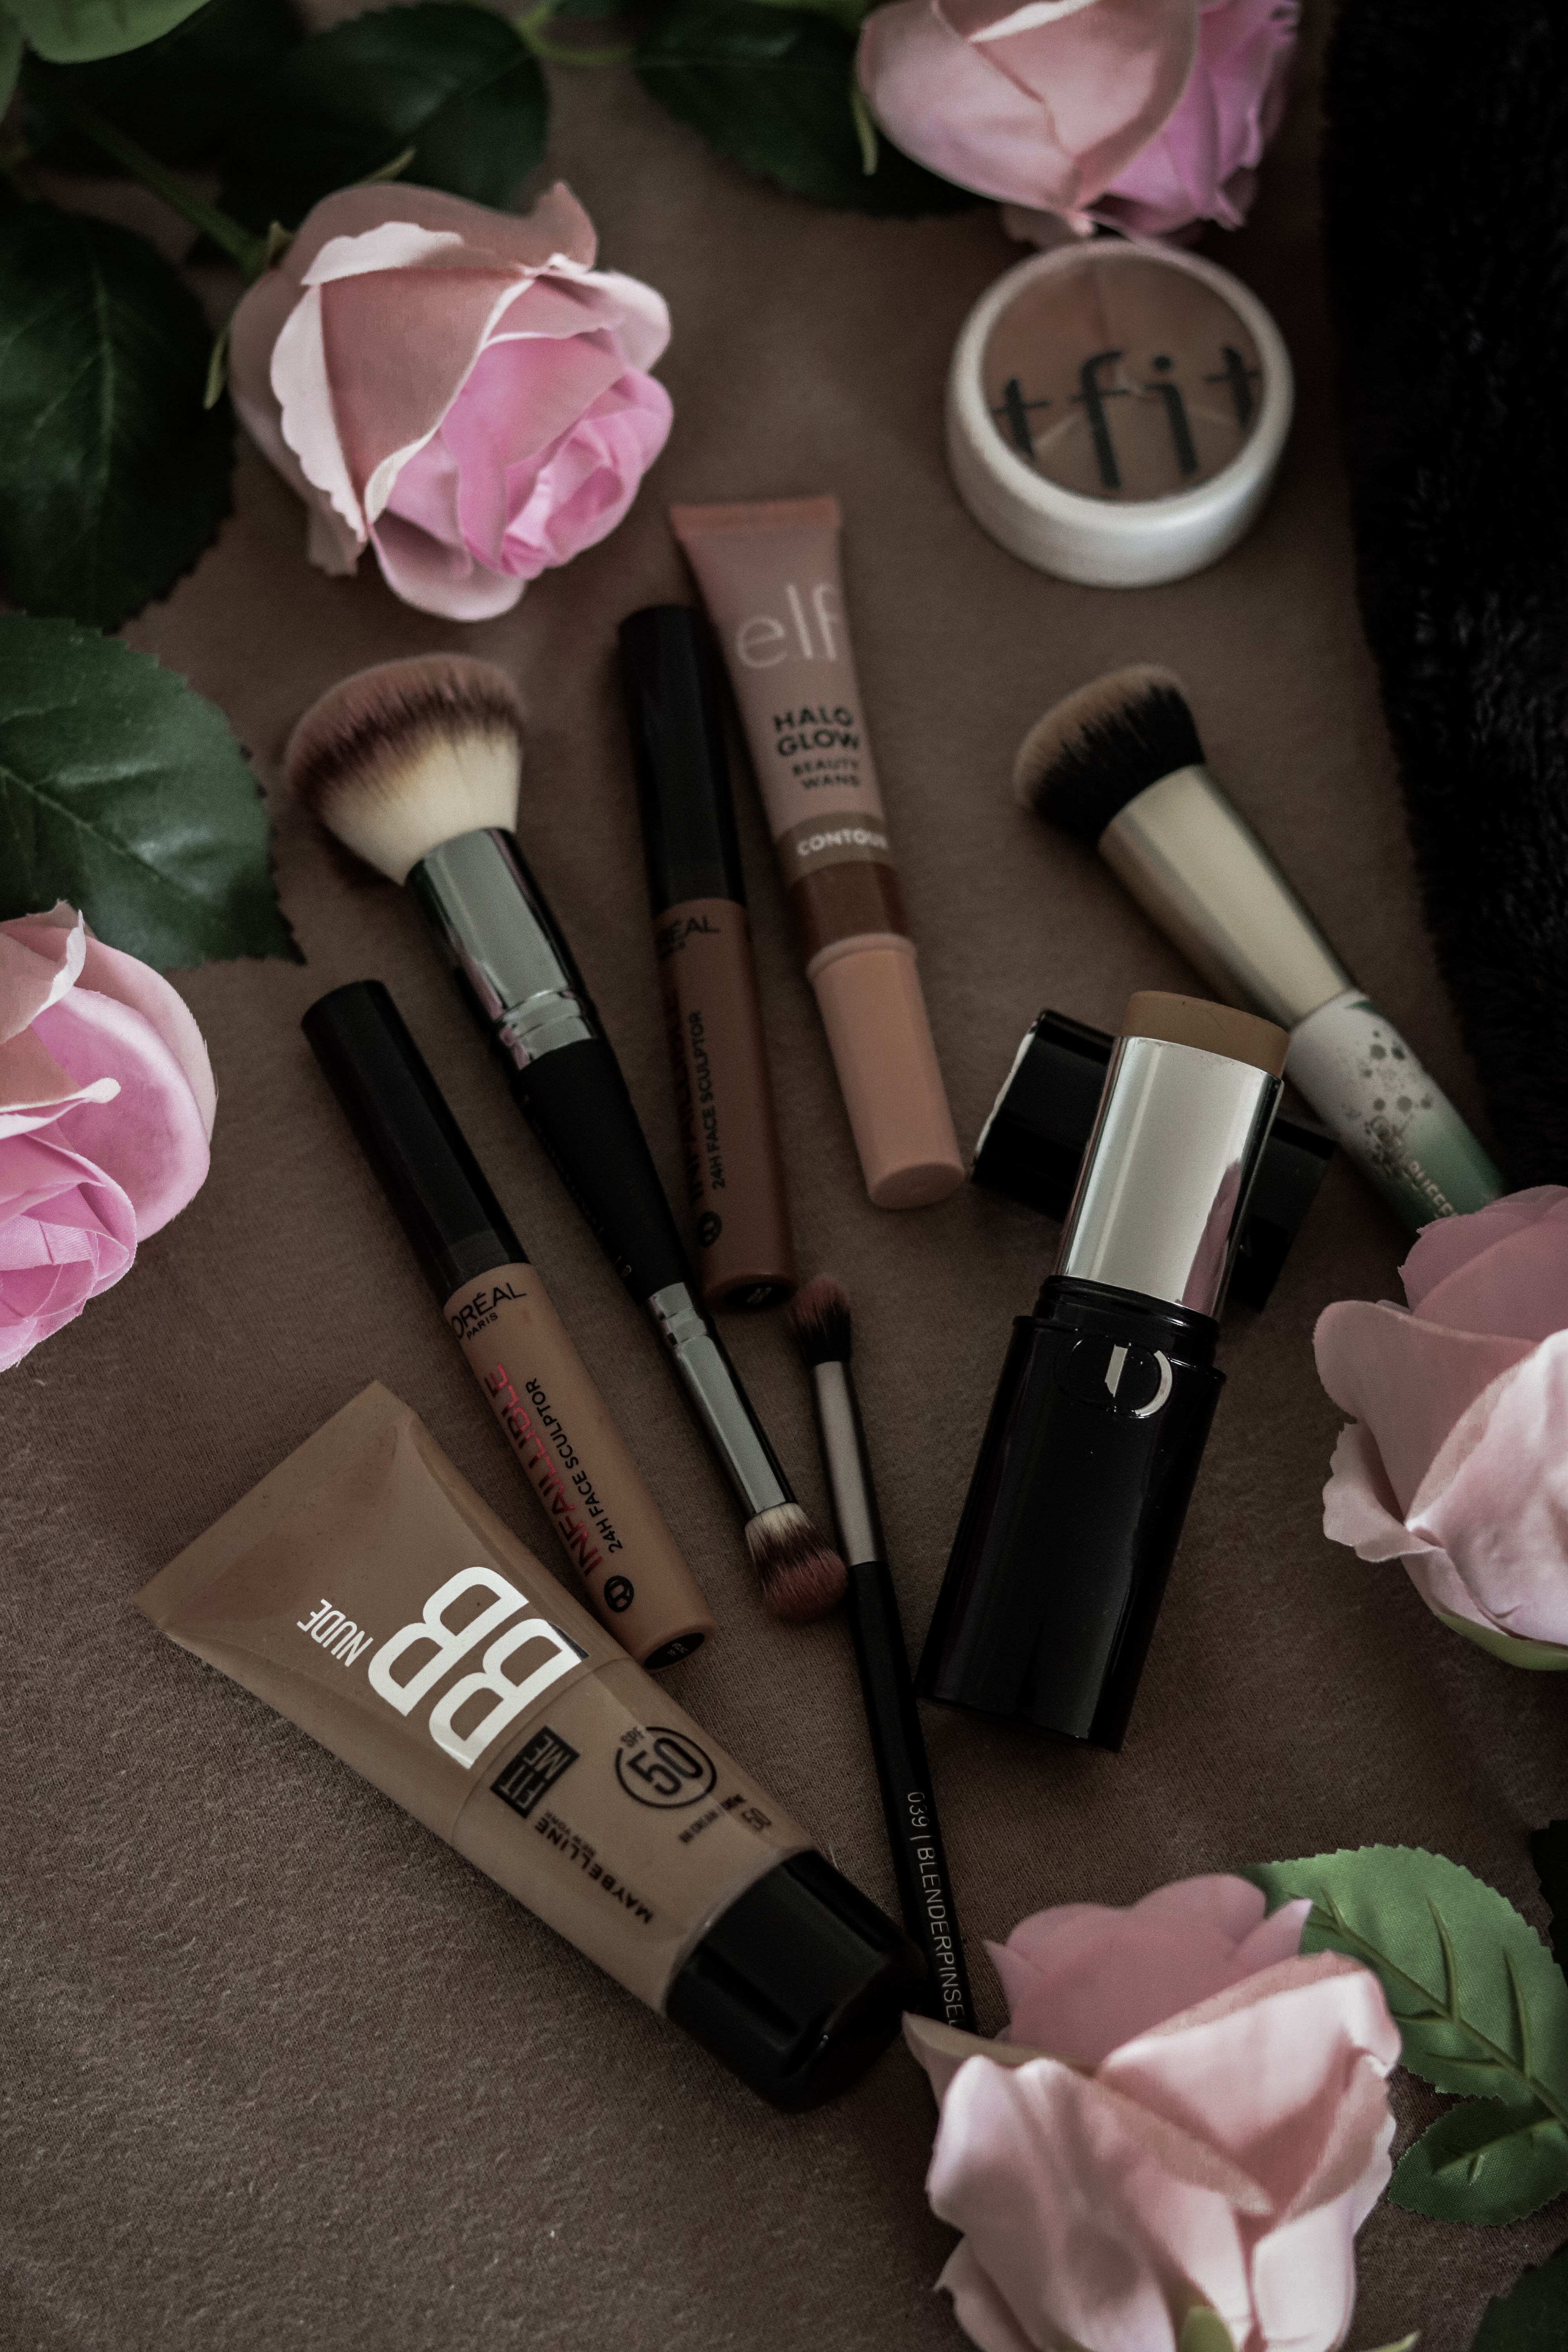
More coverage does not automatically create a better finish. A thick, uniform layer can flatten the natural dimension of the face and make every crease more visible. Thin layers let you control coverage while preserving skin-like texture.
The thin-layer method
- Begin with less foundation than you think you need and spread it from the centre of the face outward.
- Use a brush for controlled placement, then press with a damp sponge if you want to remove excess and soften edges.
- Add coverage only where it is needed: around redness, blemishes or uneven tone.
- Apply concealer precisely rather than creating a thick triangle beneath the eye.
- Let cream products settle briefly before deciding whether you need another layer.
Formula compatibility matters
Think of each product as a transparent veil. Foundation evens the overall tone; concealer corrects specific areas; contour or bronzer restores depth; blush returns colour. When each layer has one clear job, the finished base looks intentional rather than crowded.
If your base separates, the problem may be the amount of product, insufficient drying time or two formulas that do not layer well together. Test the combination on one part of the face before an important event. Press or tap additional product over the base instead of repeatedly rubbing the layers underneath.
Some Products pictured:
- Dior Forever Skin Perfect Foundation Stick
A portable foundation stick pictured; use in sheer strokes and blend outward. I know it is a little bit pricy. But it is my favourite and I am using it since years, since it fits me so well!- L’Oréal Paris Infaillible 24H Face Sculptor*
An affordable complexion sculpting option pictured.- e.l.f. Halo Glow Beauty Wand*
A targeted glow/contour format shown in the image.
3. Use Setting Spray to Merge the Layers
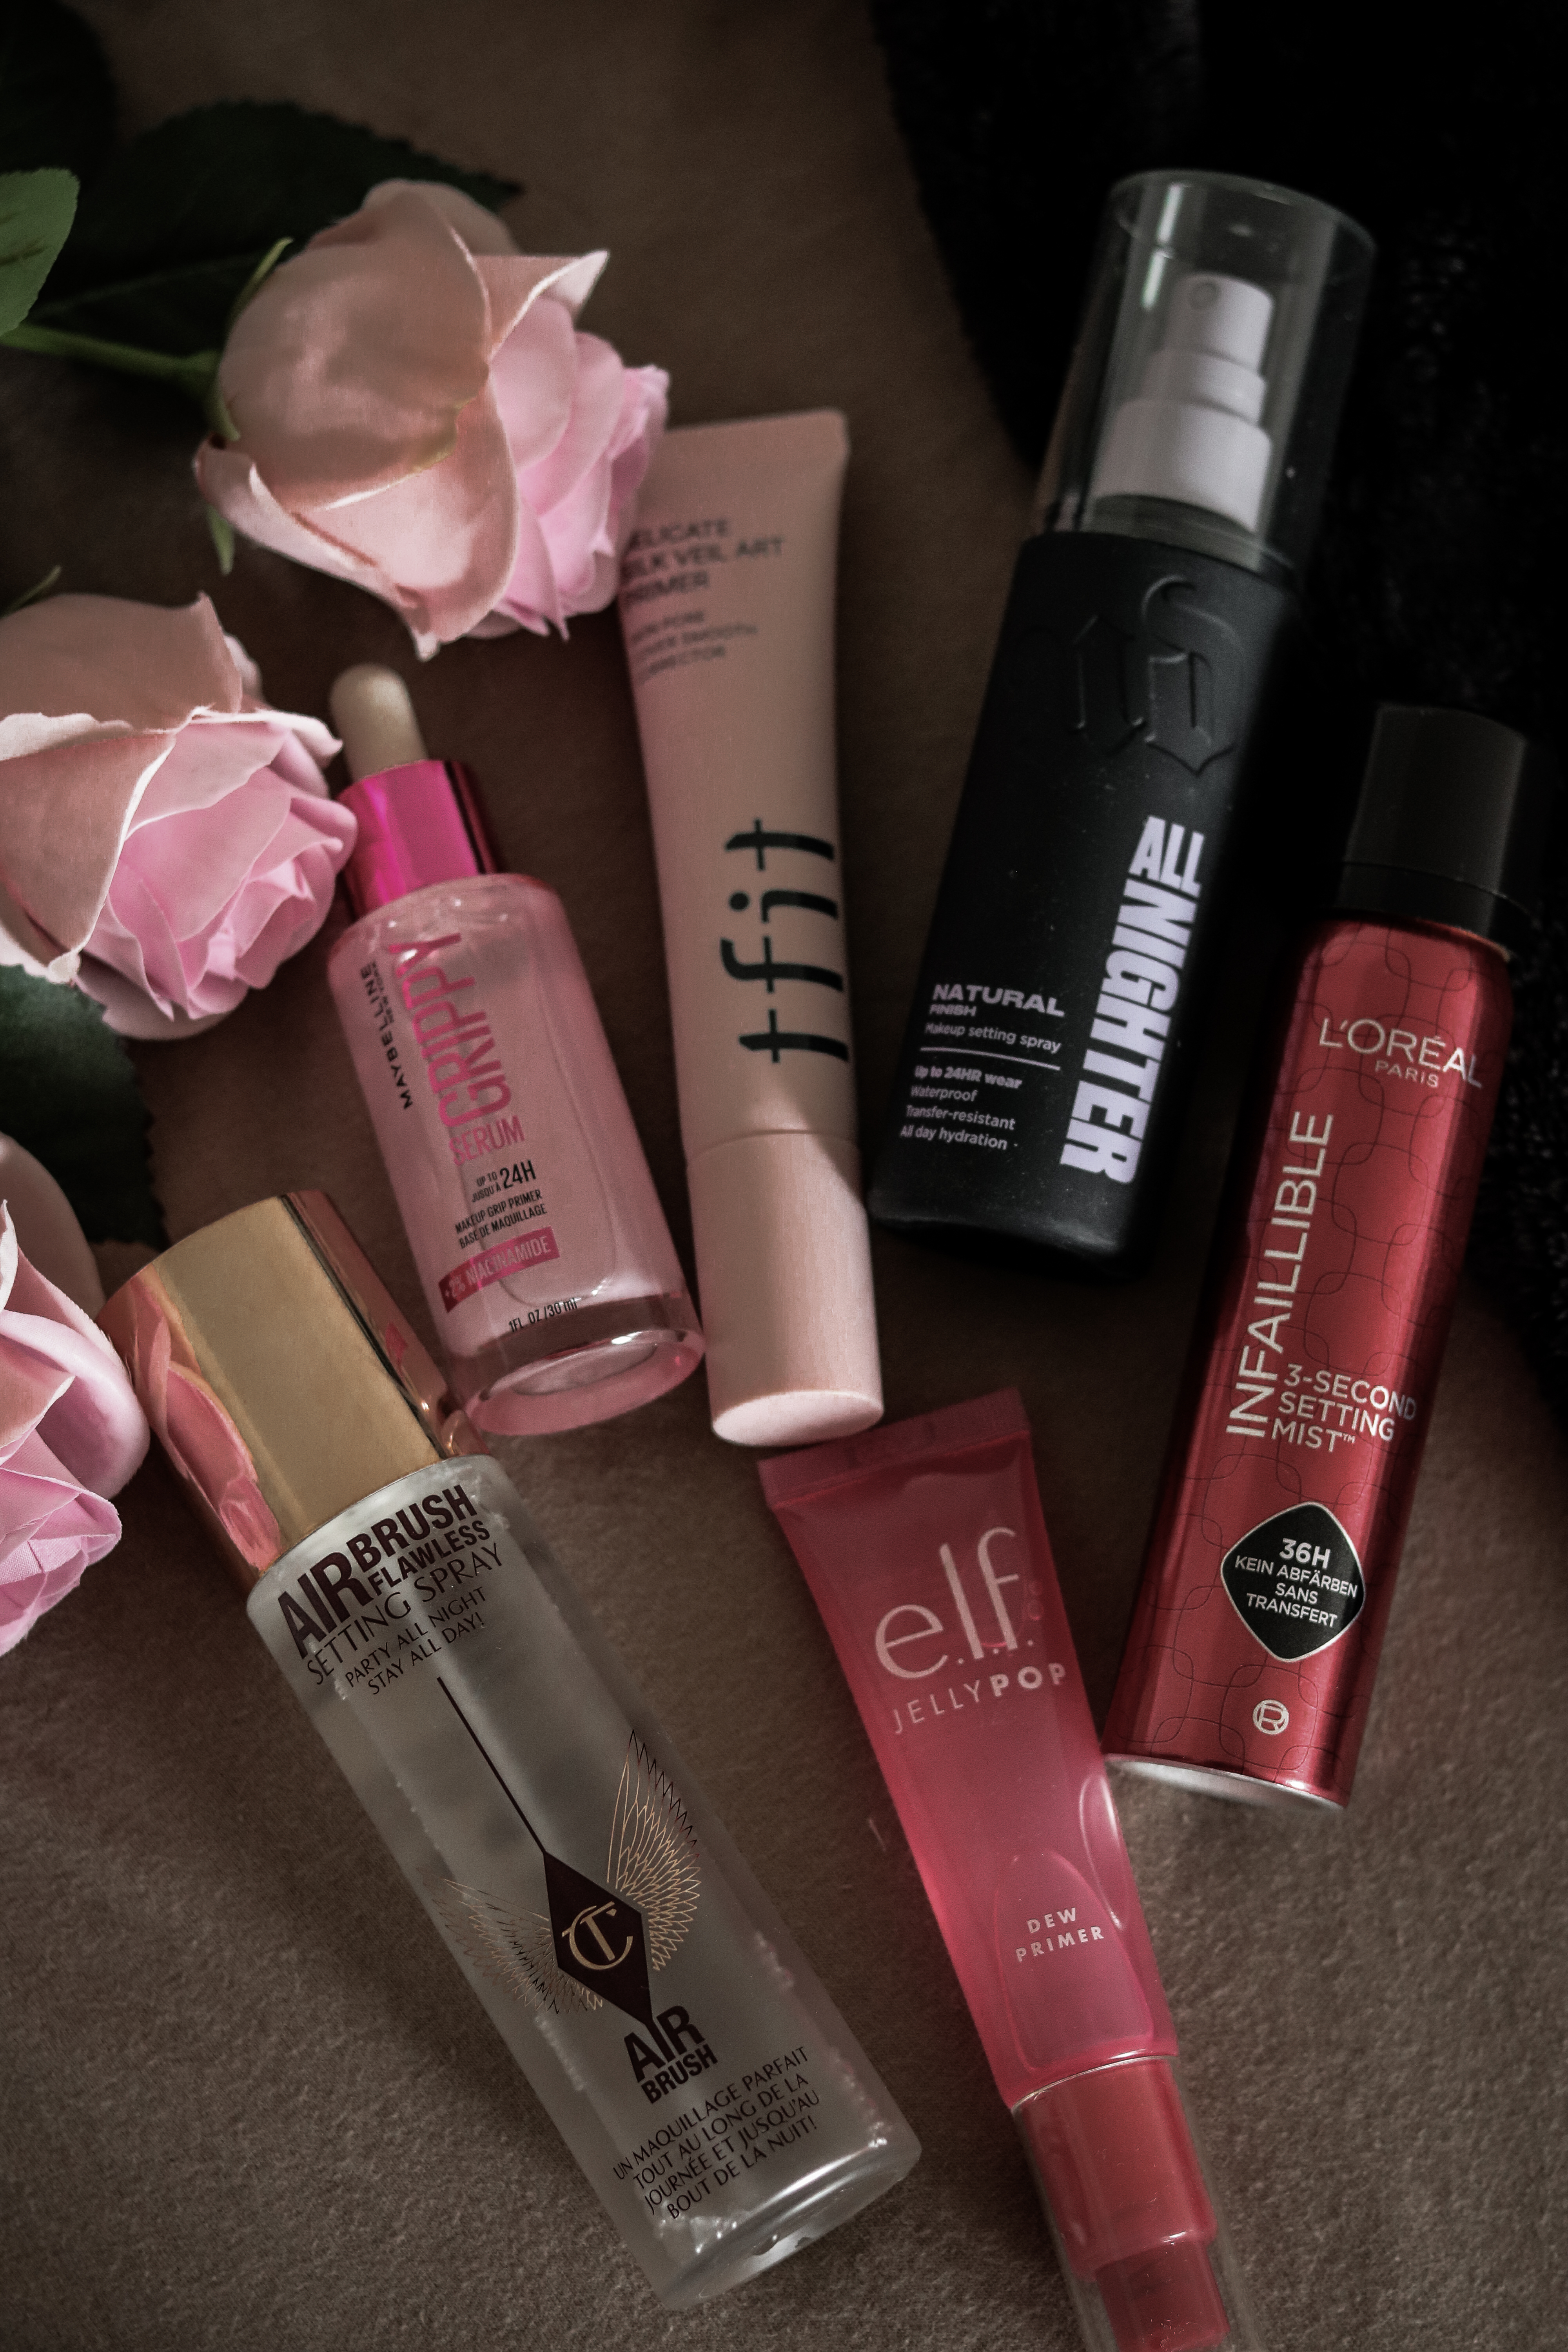
Well… That’s what I do.
Setting spray can do more than extend wear. A fine mist can reduce an overly powdery appearance and help the different layers of complexion makeup look more cohesive. The important part is choosing the correct formula and using it at the right distance.
How to use setting spray without soaking the face
- Hold the bottle roughly an arm’s length away, unless the brand instructs otherwise.
- Mist evenly rather than aiming repeatedly at one area.
- Let the spray dry without touching the face. (A fan can speed this up.)
- For extra longevity, mist lightly between selected layers, but only if your formulas tolerate it.
A fixing spray is designed primarily for wear; a dewy mist focuses more on finish and comfort. Some products attempt both. Read the product description and choose according to your priority instead of expecting every mist to perform the same job.
Some Products pictured:
- L’Oréal Paris Infaillible 3-Second Setting Mist
A transfer-resistant setting option shown in the image.- Urban Decay All Nighter Setting Spray
A well-known long-wear option pictured.- Charlotte Tilbury Airbrush Flawless Setting Spray*
A premium setting spray shown in the flat lay.- Maybelline Grippy Serum
A prep/primer format pictured; use before makeup, not as the final fixing step.
4. Make the Small Details Look Deliberate
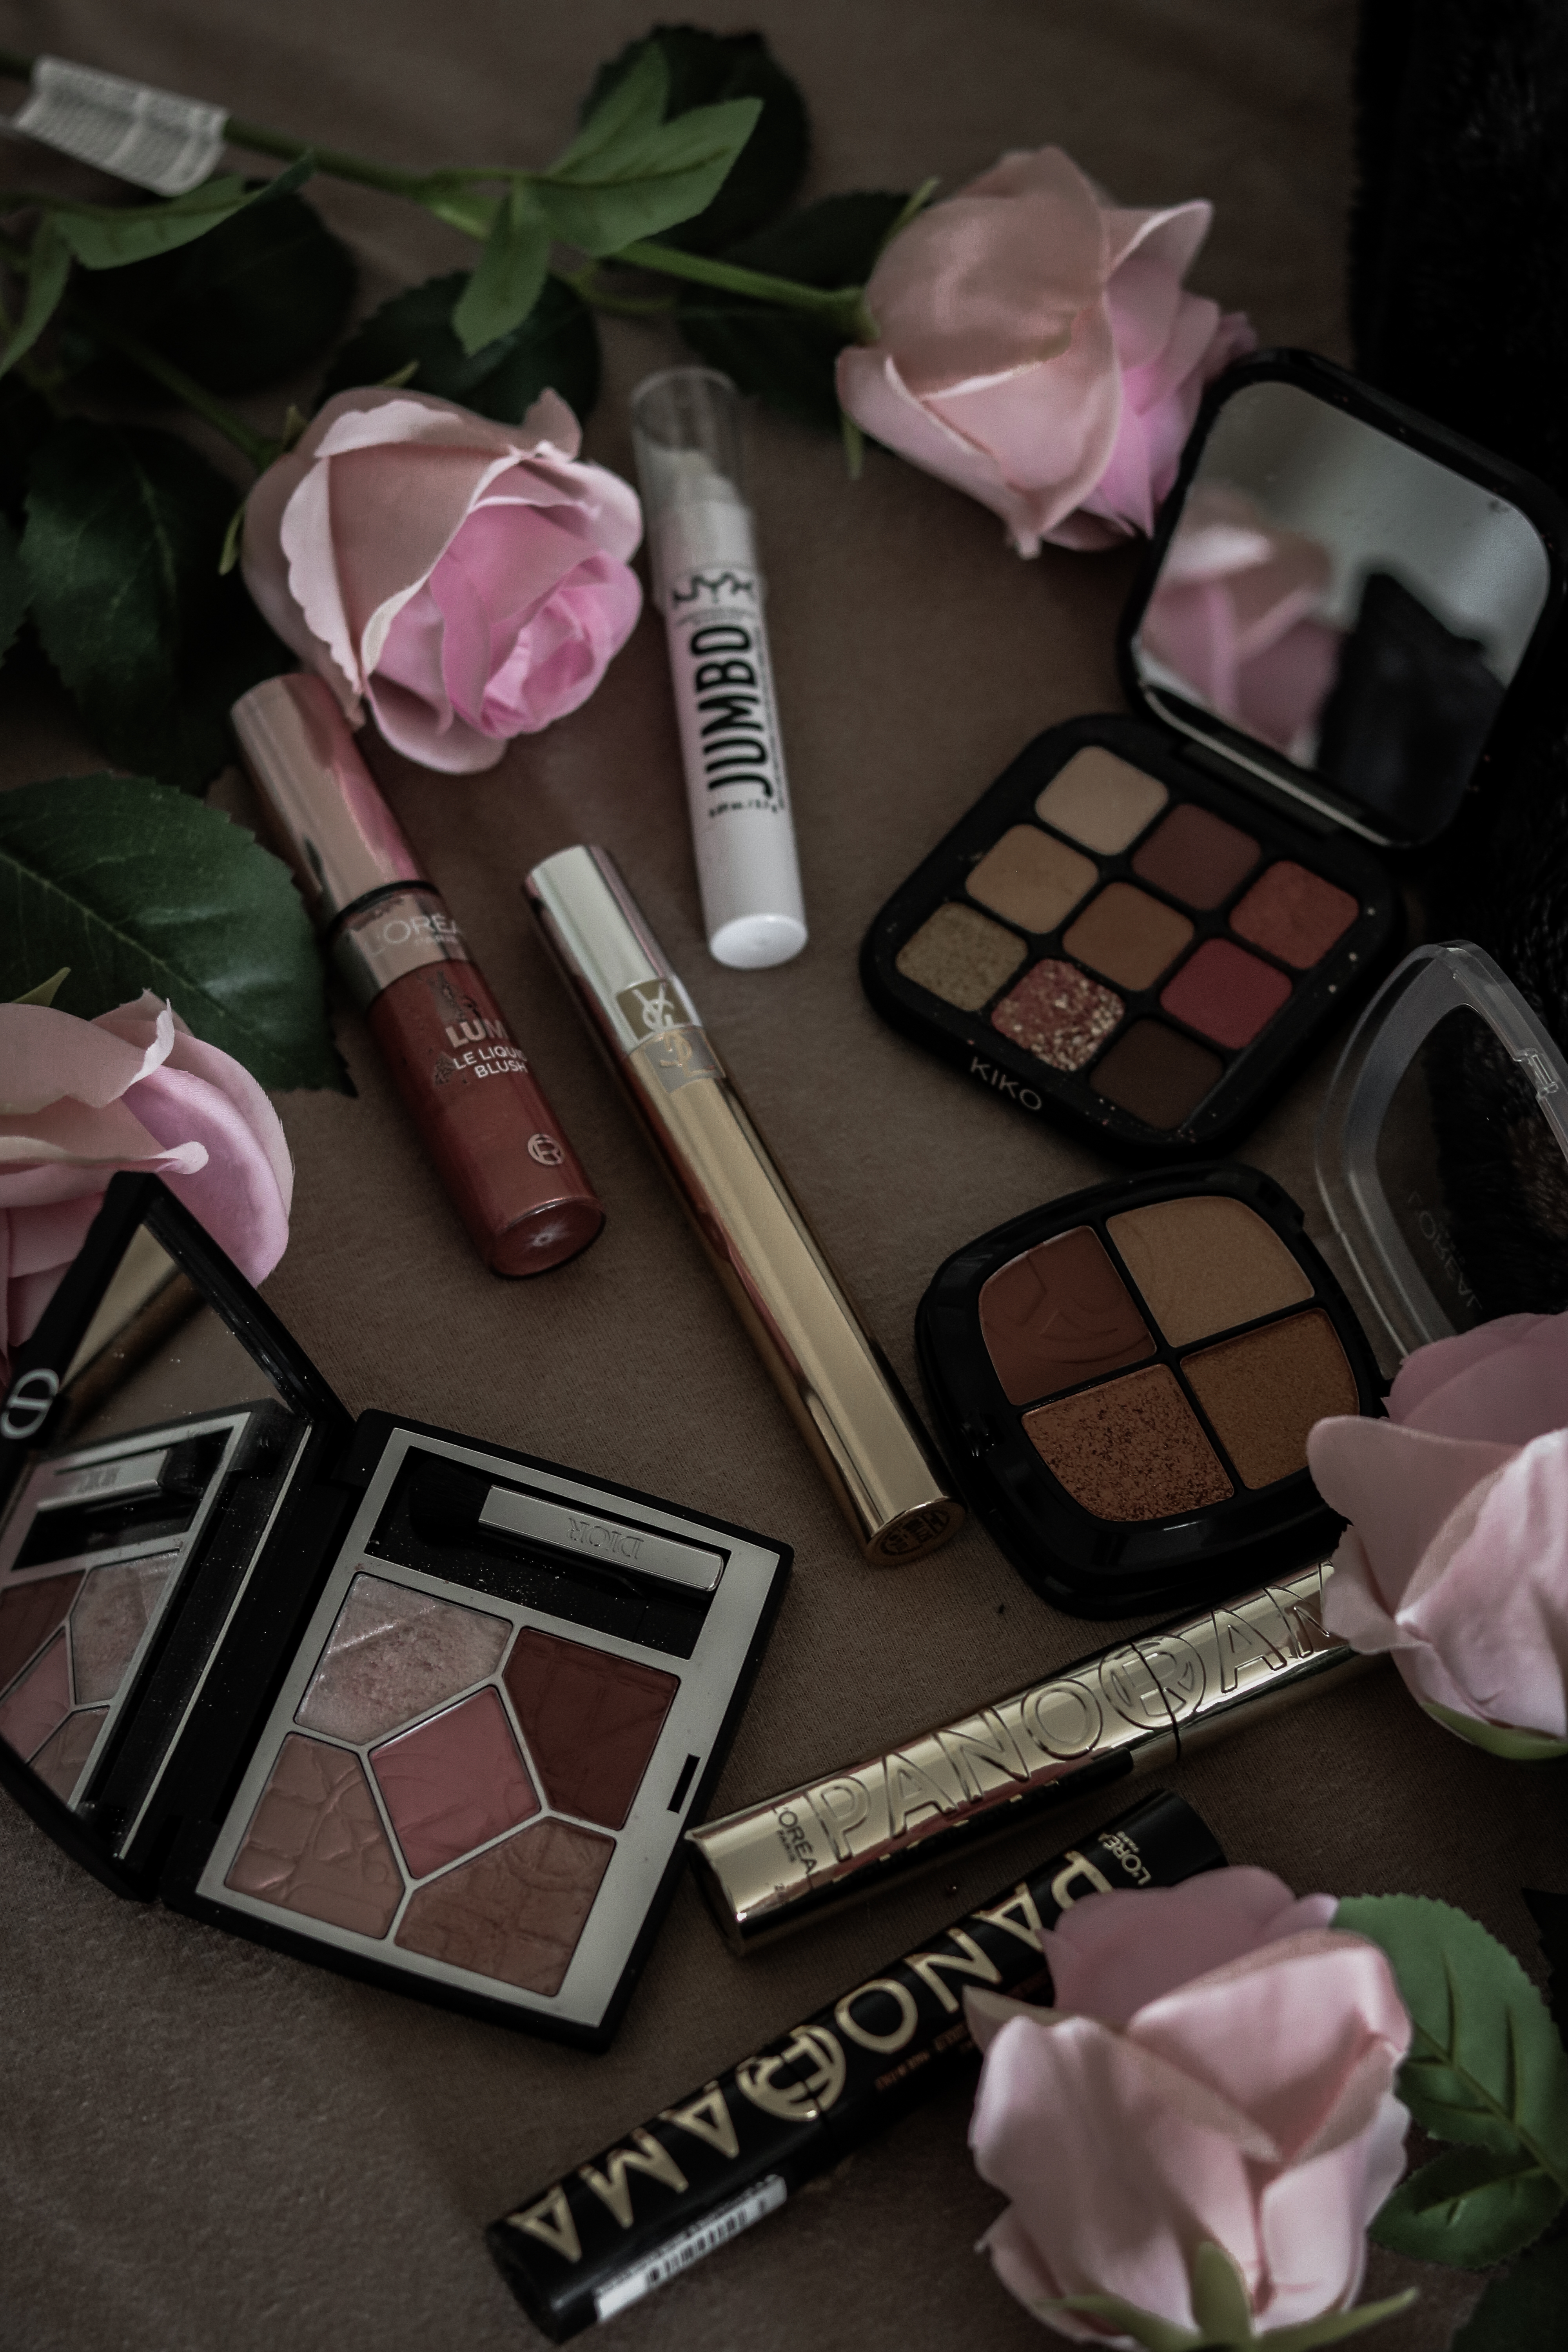
Now that’s my favourite part!
The difference between ‘done’ and ‘polished’ is often found in details that take less than two minutes: a clean lash line, separated mascara, softly blended blush edges and a lip line that looks intentional. Refinement comes from control, not from adding another major product.
High-impact finishing checks
- Comb through brows and remove any product sitting outside the intended shape.
- Keep the base of the lashes dark while separating clumps at the tips.
- Clean eyeshadow fallout before perfecting the complexion.
- Use shimmer strategically: inner corner, lid centre or high point – not automatically everywhere.
- Check the face in daylight and from conversational distance, not only in a magnifying mirror.
Precision does not mean harshness. Expensive-looking makeup usually has controlled edges where definition is useful. Lashes, brows and lips and diffused edges where softness is more flattering, such as blush, bronzer and eyeshadow transitions.
5. Create Color Harmony Across Eyes, Cheeks and Lips
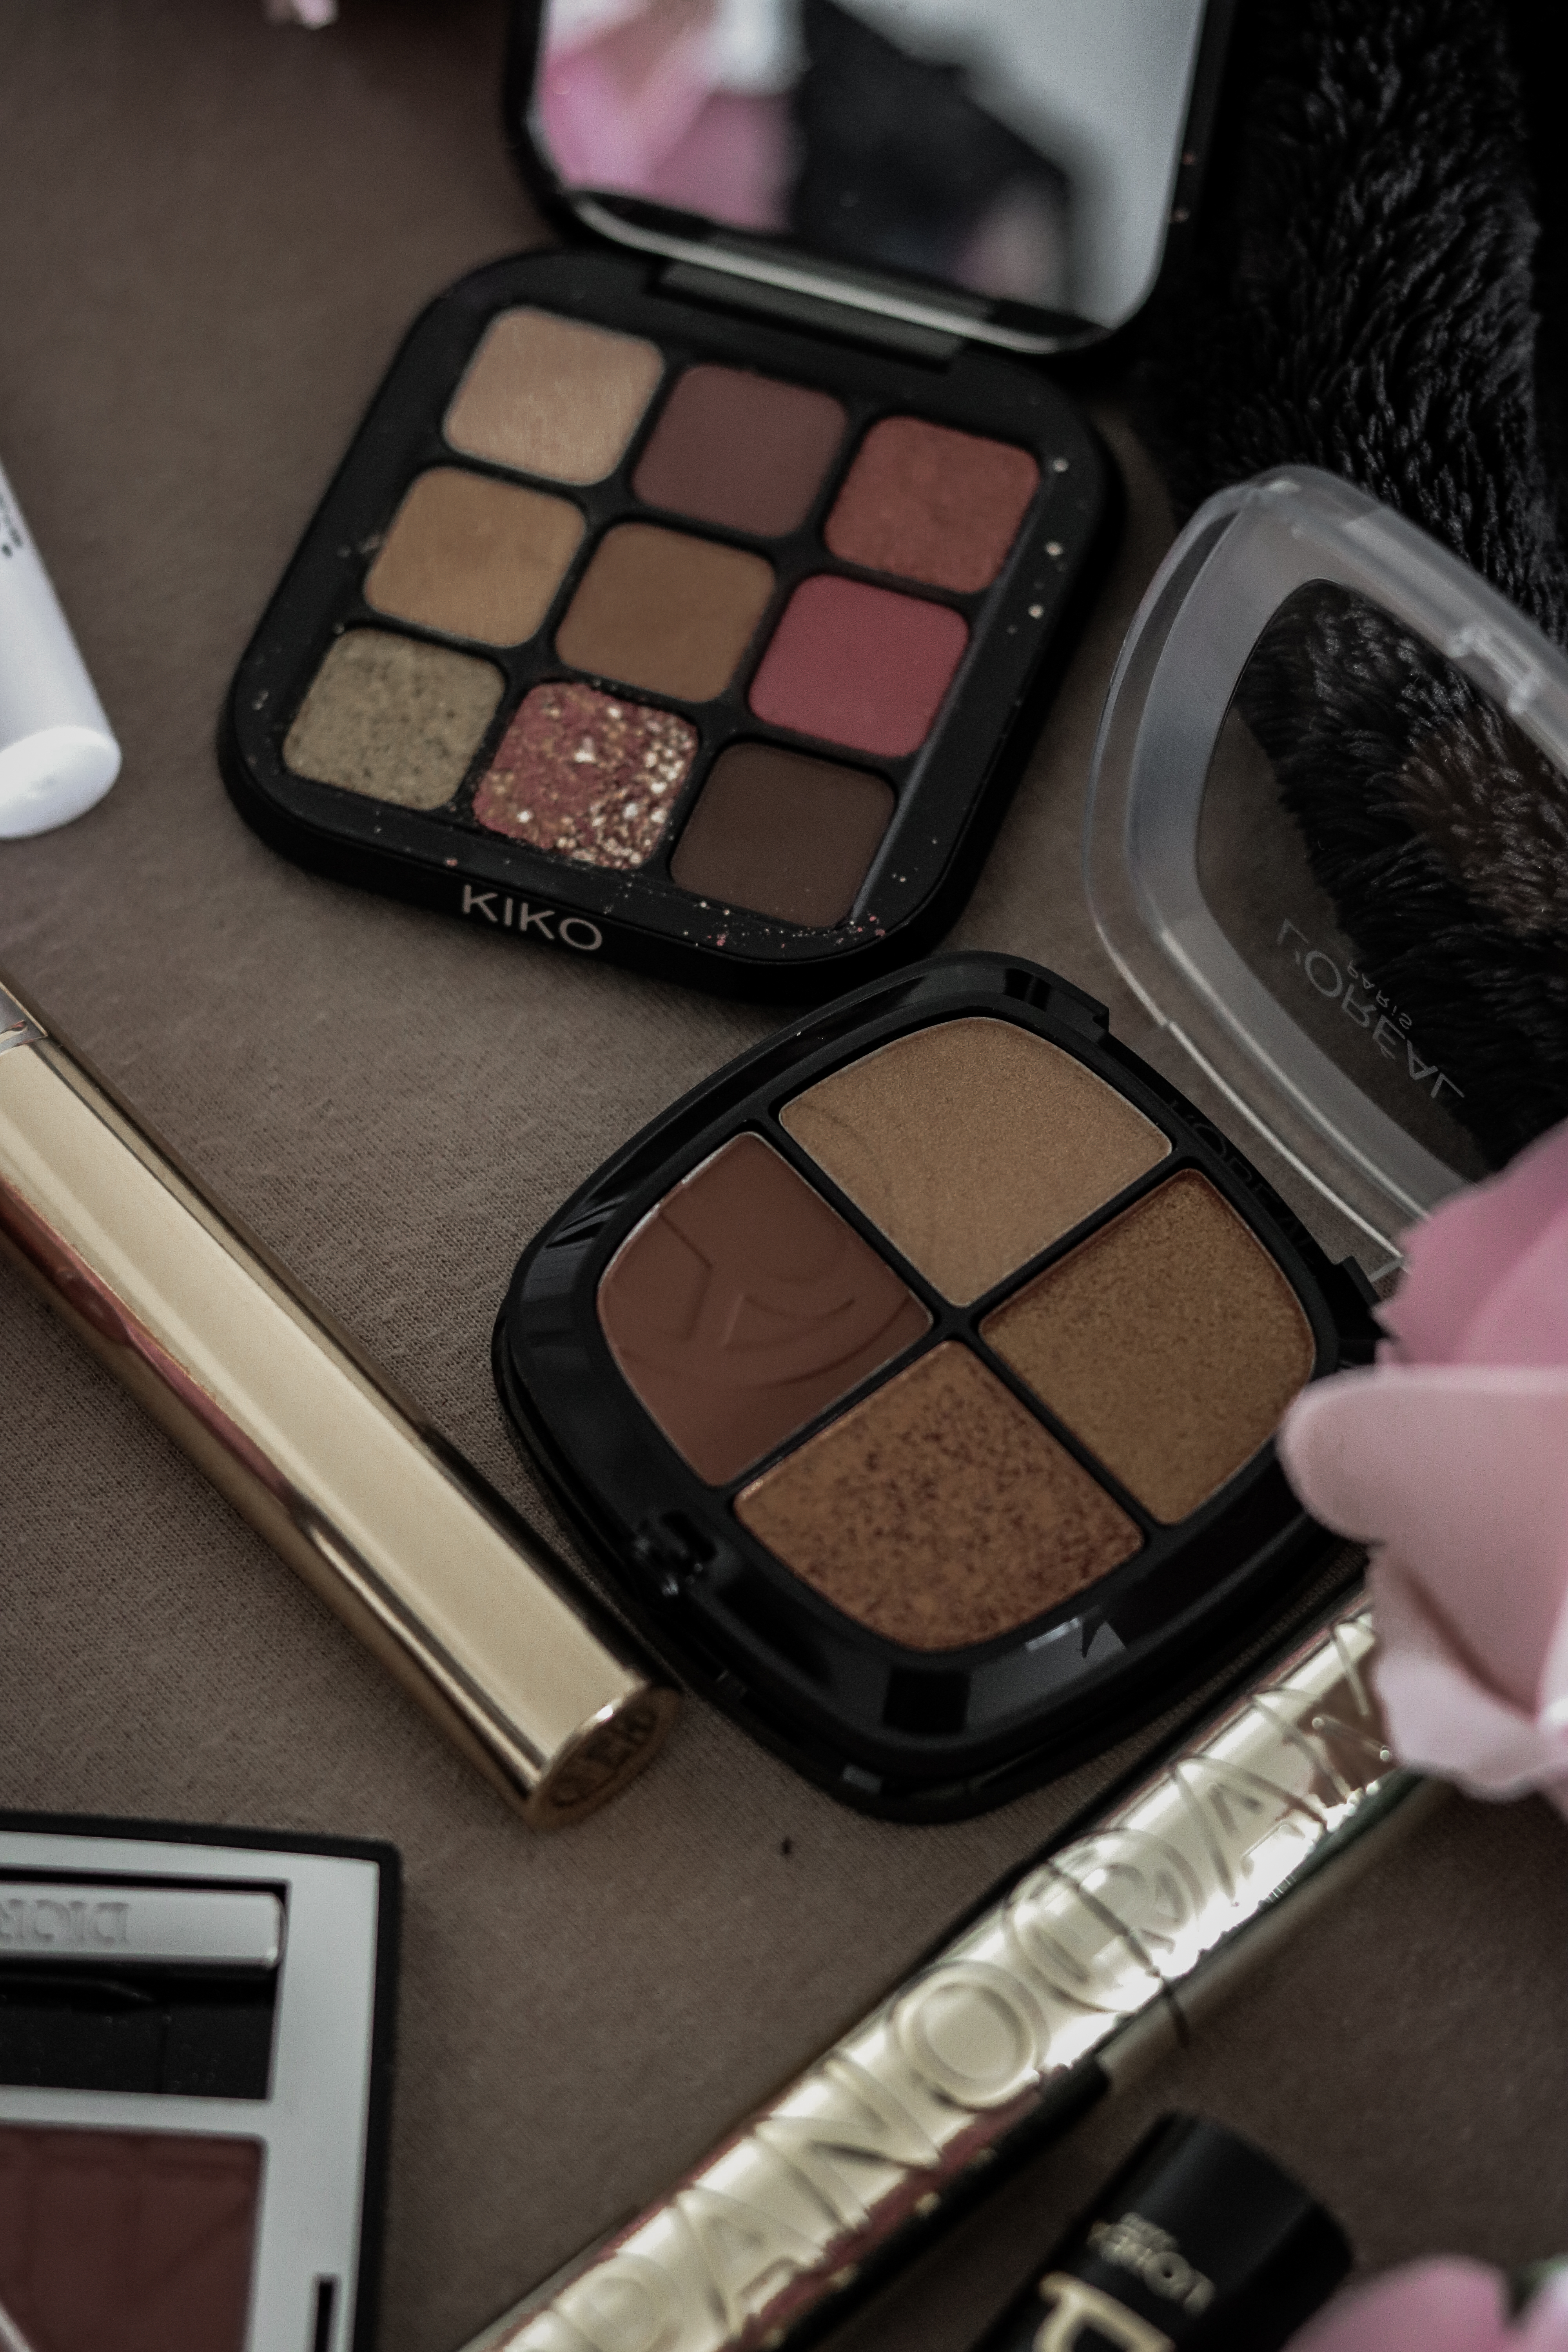
Your blush, lips and eyes do not need to be identical. They simply need to speak the same visual language. A coherent undertone or repeated accent colour makes the face feel considered, even when every product comes from a different brand.
Three easy colour stories
- Warm polished: peach or terracotta blush, bronze-brown eyes and a caramel, warm rose or brick lip.
- Cool romantic: rose or mauve blush, taupe/plum eyes and a blue-based pink, berry or mauve lip.
- Neutral soft glam: balanced rose-brown blush, champagne/taupe eyes and a nude lip close to your natural lip tone.
If one feature is very saturated, let the others support it. A deep berry lip can be paired with softly defined eyes and a related cool-toned blush. A dramatic bronze eye often looks more coherent with a muted warm cheek and lip. Harmony is repetition with variation and not exact matching.
How to find your undertone
Use undertone as a guide, not a rigid rule. Compare colours directly on your skin in natural light. If orange-browns repeatedly look separate from your face while rose-browns look integrated, you may prefer cooler or more neutral choices; the reverse may be true for warm tones. Olive complexions often need experimentation because products can pull unexpectedly pink, orange or grey.
Some beauty brands and websites also offer digital shade-matching or undertone tools. These can provide a helpful starting point, but I personally prefer visiting a store and testing the shades directly on my skin in natural light whenever possible.
6. Define the Lips in Layers
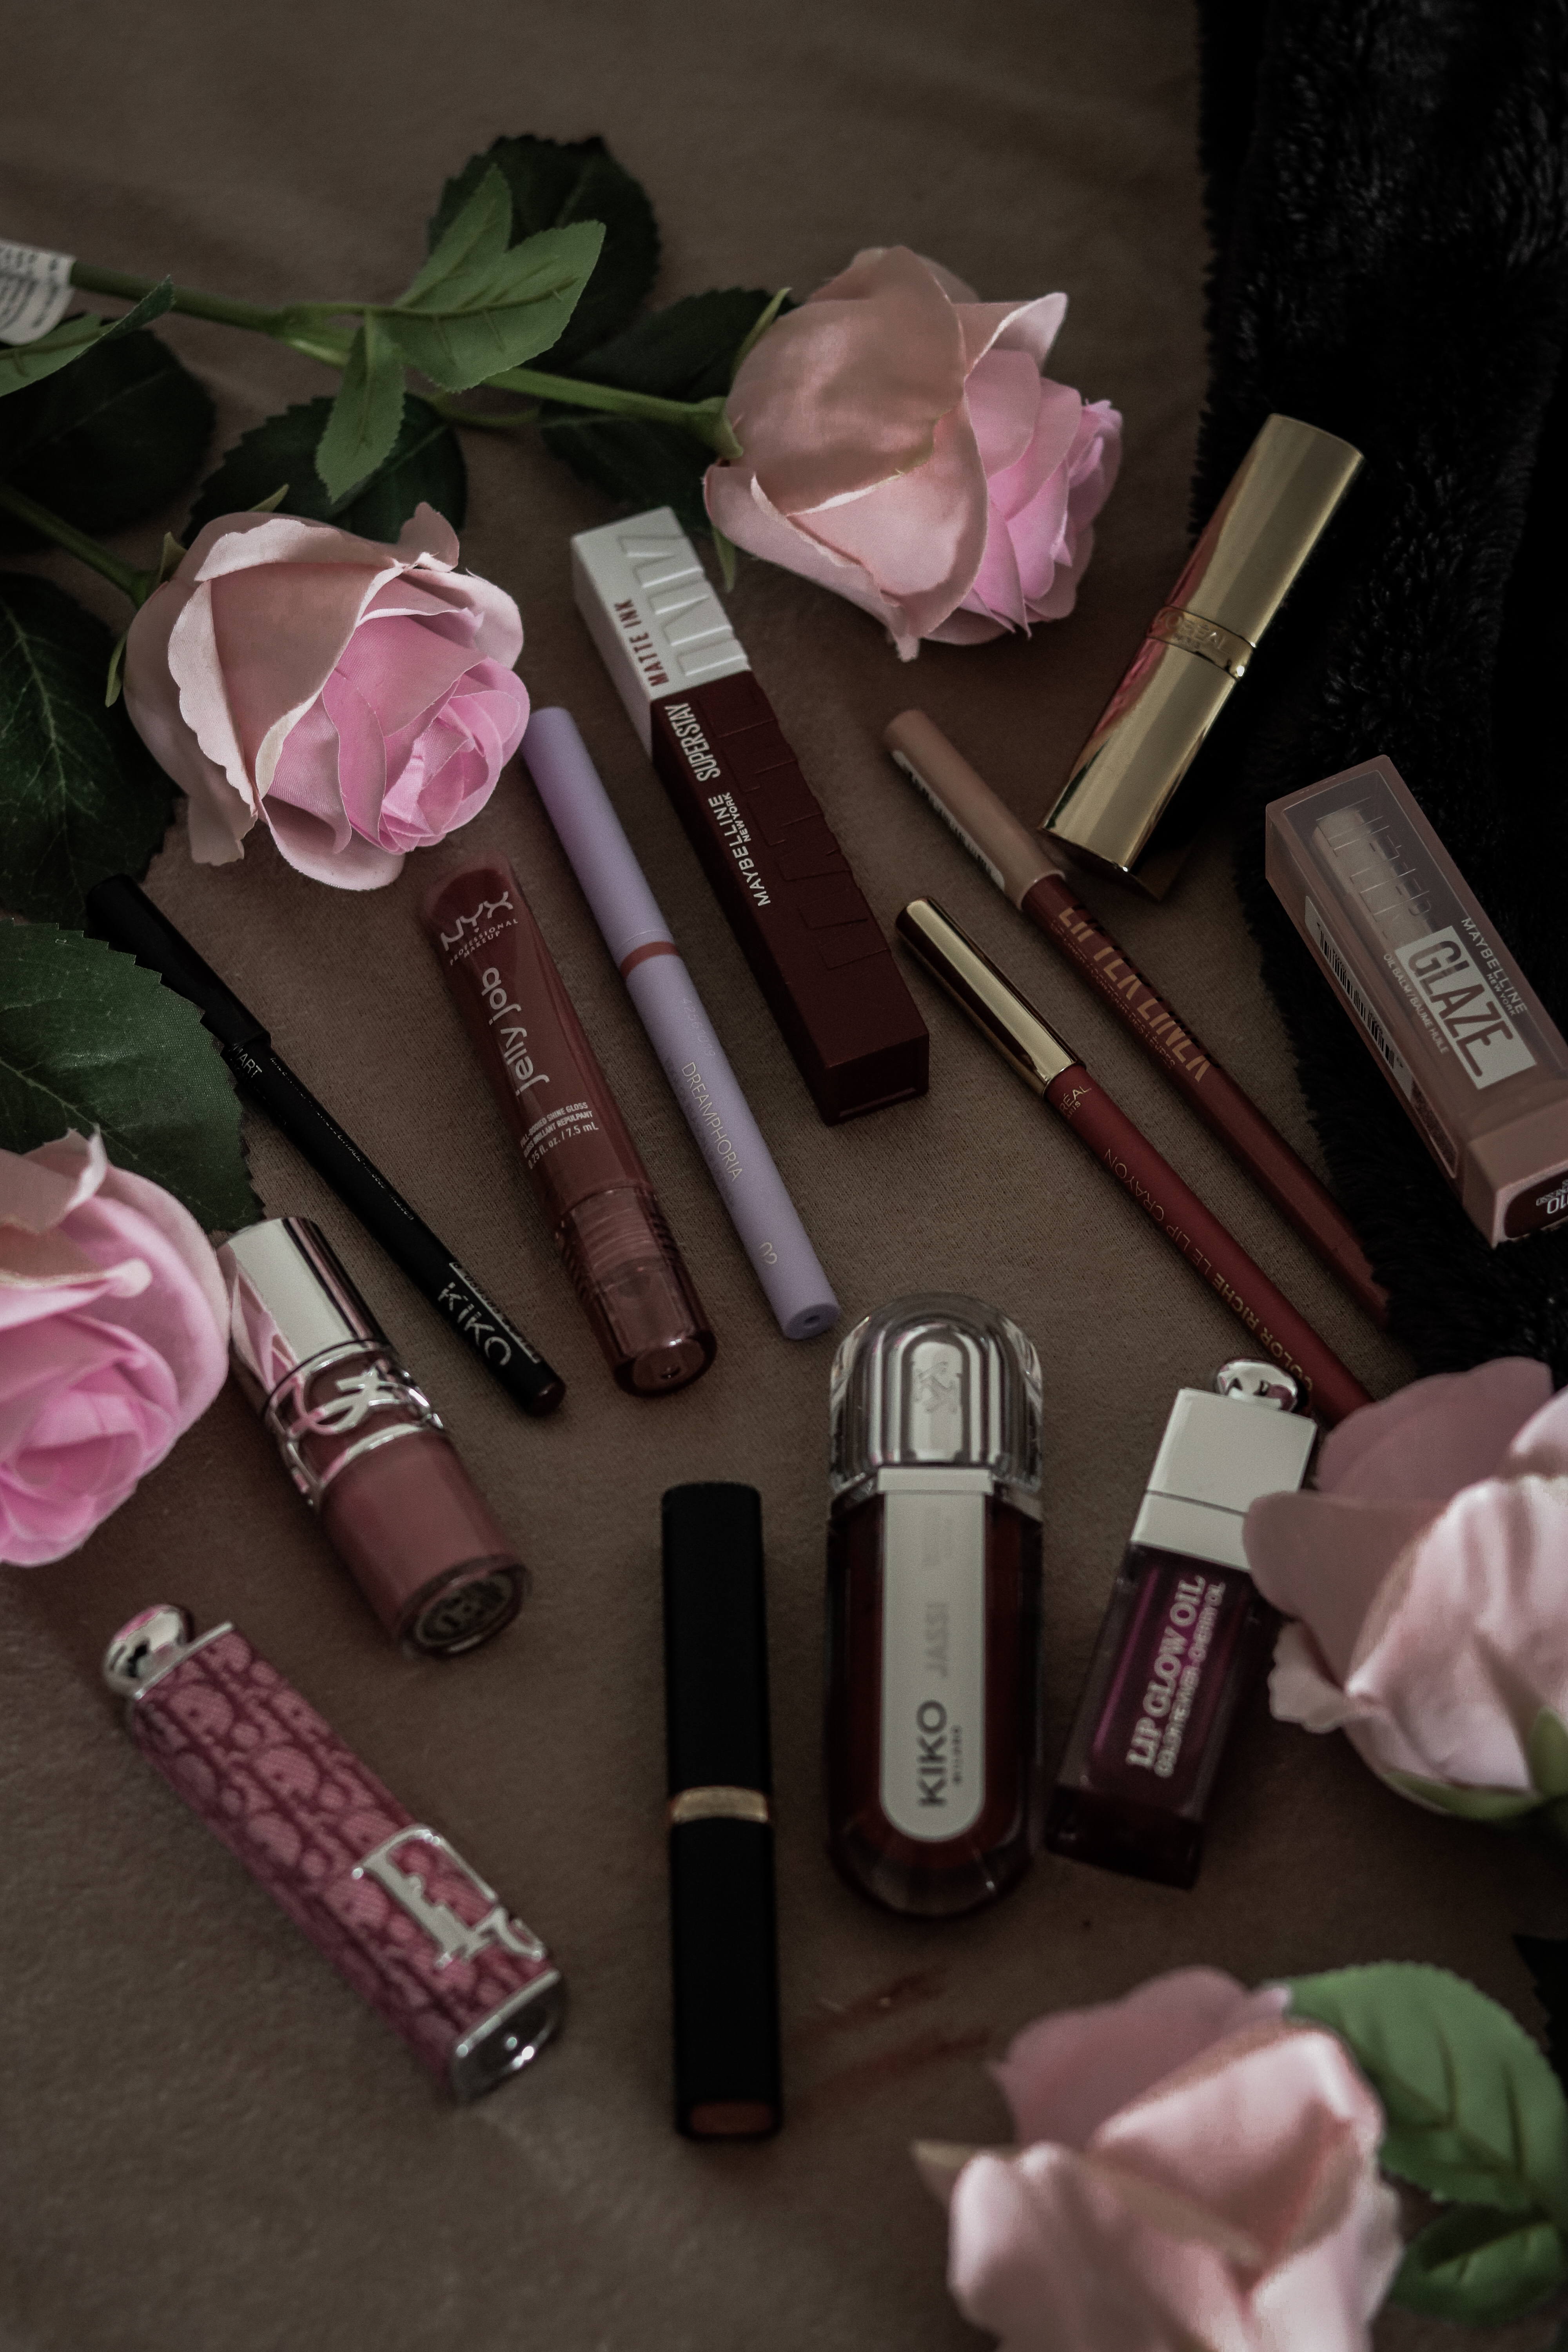
A finished lip anchors the whole look. Lip liner creates structure, lipstick supplies colour and gloss changes dimension. You do not always need all three, but understanding their jobs makes it easier to create a balanced result.
A polished lip routine
- Prepare dry lips first, then remove excess balm so the liner can adhere.
- Trace the natural border and correct gradually. If overlining, keep it subtle and focus mainly on the cupid’s bow and centre of the lower lip.
- Shade the liner slightly inward so there is no visible ring when lipstick fades.
- Apply lipstick in a thin layer and blot if you want a softer, longer-wearing stain.
- Add gloss to the centre for dimension, or leave the lip satin/matte for sharper definition.
The most convincing nude is not necessarily the palest shade. Choose a colour with enough depth and contrast to remain visible against your complexion. A liner one or two tones deeper than the lip colour can create dimension without producing a harsh outline.
Some Products pictured:
- NYX Professional Makeup Jelly Job Gloss
a glossy rose-brown option pictured.- Maybelline Super Stay Matte Ink
a long-wear liquid lip format pictured.- L’Oréal Paris Color Riche Lip Liner
a classic pencil format for shape and definition.- Dior Addict Lip Product
a luxury lip option visible in the image.
7. Edit the Final Look
Before adding more, step back. The most expensive-looking makeup is rarely the look with the greatest number of visible products. It is the look in which every choice appears purposeful.
The two-minute final edit
- Check the jawline, hairline and sides of the nose for unblended edges.
- Press away excess product where makeup naturally gathers: around the nostrils, smile lines and under the eyes.
- Decide on one focal point. If eyes and lips are both strong, soften the cheek or reduce shimmer.
- Restore dimension only where needed with a small amount of blush, bronzer or highlight.
- Optionally: Photograph the look with and without flash if it is intended for an event or content shoot.
It’s important to know that makeup rules are tools, not laws. Once you understand why a technique works, you can decide whether it supports your face, your style and the result you want. That confidence is part of what makes a look feel luxurious. 🙂
Common Mistakes That Make Makeup Look Heavy
Using powder everywhere
Powder is useful for setting, blurring and controlling shine, but placing the same amount over the entire face can remove natural dimension. Concentrate it where products crease or oil breaks through and keep naturally dry areas lighter.
Trying to hide texture with more coverage
Texture is normal and cannot be erased by foundation. More product can make raised texture more visible. Prioritise comfortable skin prep, flexible formulas and controlled placement instead.
Mixing too many finishes
A very matte base, metallic eyes, wet-look highlight and high-shine lips can compete. Contrast can be beautiful, but it should look chosen. Repeat one or two finishes and let the focal point carry the strongest effect.
Mixing too many finishes
A combination that looks perfect for ten minutes may separate after two hours. Test important looks in the same lighting, temperature and wear conditions you expect on the day.
Affordable vs. Luxury Makeup: What Is Worth Spending On?
Price can influence packaging, shade range, formula elegance and the overall experience, but it does not guarantee a better result for every person. Spend where a product solves a specific problem for you or offers a shade/finish you cannot replace easily. Save where an affordable formula performs the same job.
A practical mixed-budget makeup bag might pair an affordable brow pencil, mascara and lip liner with a complexion shade that matches perfectly and one special luxury product you genuinely enjoy. Technique determines whether those products look cohesive.
Frequently Asked Questions
Should setting spray be used before or after powder?
Most people use it after the makeup is complete, but some formulas can be misted between layers. Follow the product instructions and test the combination because sprays and powders behave differently.
Does primer make makeup look better?
Only when it solves a real need and works with the base products. A hydrating, gripping or smoothing primer can help, but primer is not mandatory and excess layers can pill.
How do I make makeup last without looking cakey?
Use thin layers, set only crease- and oil-prone areas, choose a compatible long-wear spray and blot oil before adding more powder.
Expensive-looking makeup is not a shopping list. It is a sequence of small decisions: prepare the skin, apply less, build only where necessary, merge the layers, refine the details and repeat colour intentionally. When the finish looks comfortable and every feature feels connected, even the simplest products can look elevated.



 Art of Jassi
Leave a comment